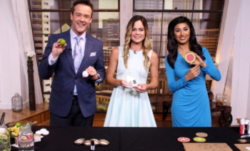
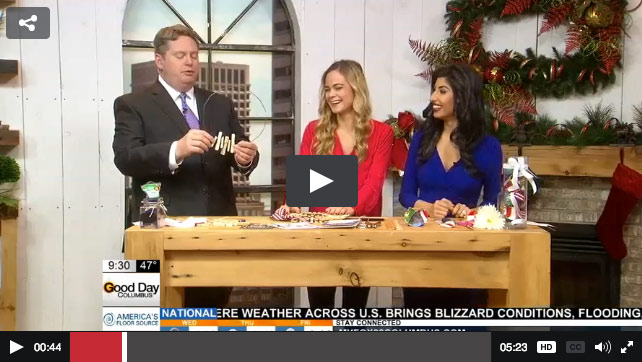
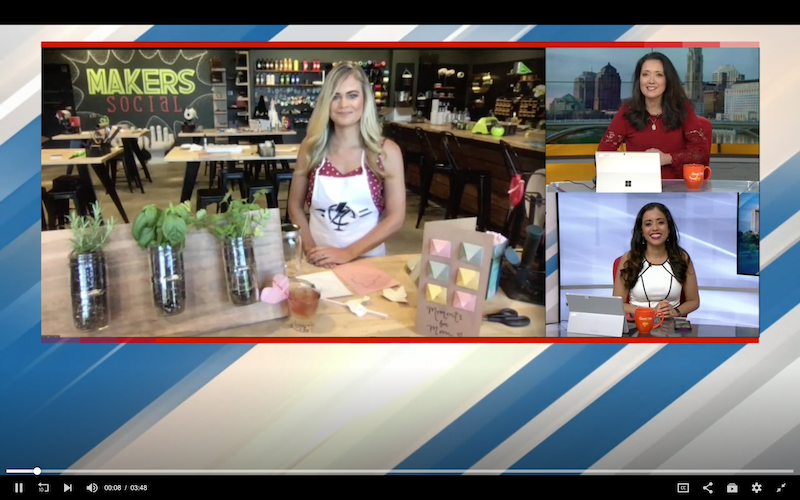
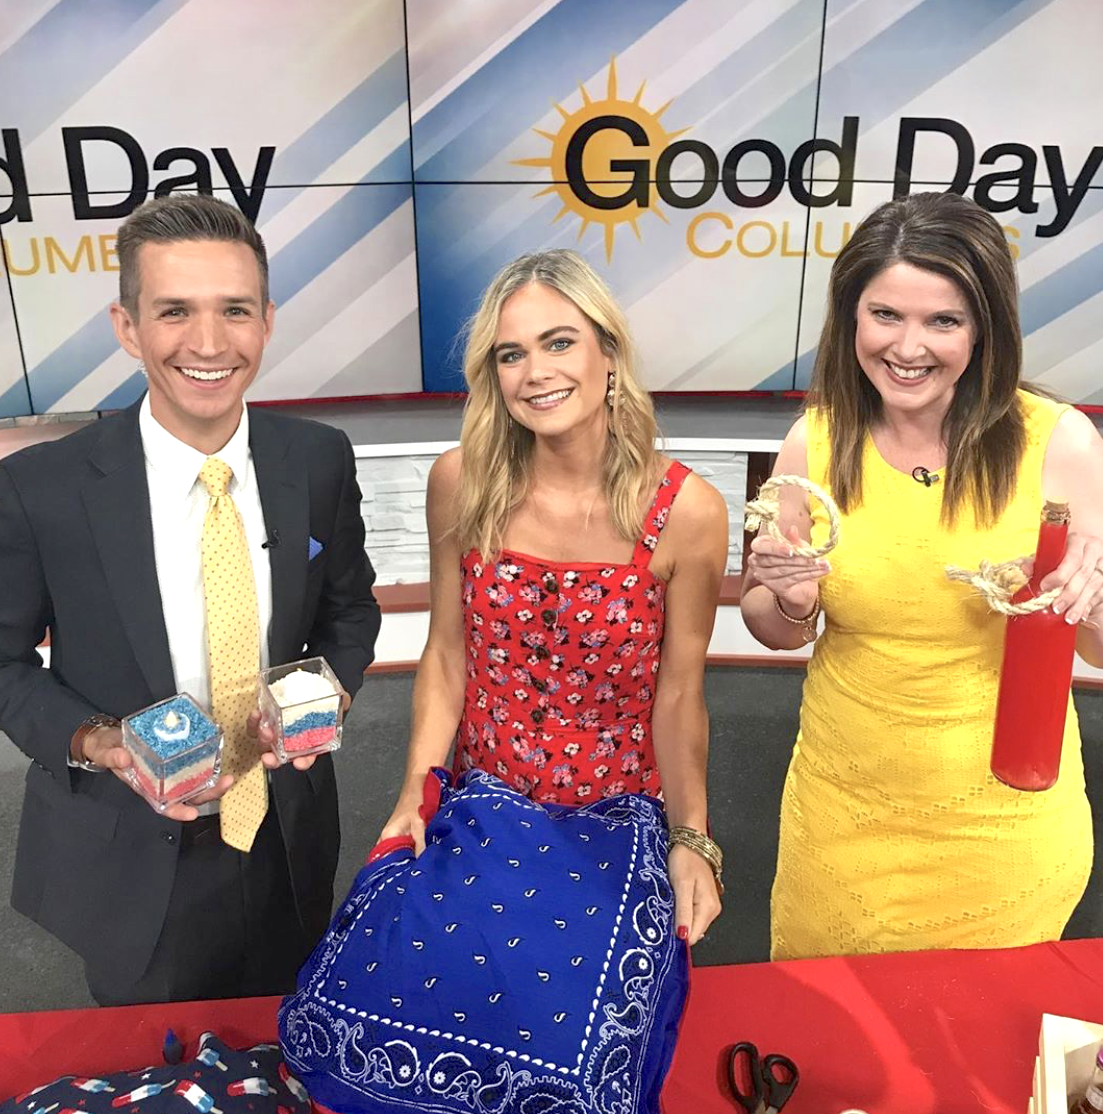
Good morning & happy 4th from our friends at Good Day Columbus!
That smokey smell of fireworks and hot dogs on the grill is a sure sign that summer is in full swing. It reminds me of my childhood- neighborhood bonfires with friends, and catching lightning bugs in mason jars. Speaking of which, after a successfully wild wedding last month, Dave and I are closing on our first house this month in lovely Grove City, Ohio. What I’m looking forward to the most is the community benefits of living in a suburb. Cook-outs. Bonfires. Driveway basketball hoops. Bike rides. Golden retrievers. Andddd… 4th of July fireworks! So call in the noise complaints, because we’re comin’ in hot, ya’ll.
If you’re speaking my same language here with the 4th of July backyard party, I showed you a few unique decorations you can make to complete your home for this patriotic holiday, and even a special craft for the kids to work on if you’d like to keep them occupied with something other than sparklers. Below are the step-by-step instructions from our 4th of July segment this morning!
For the full video of the segment, see their website here!
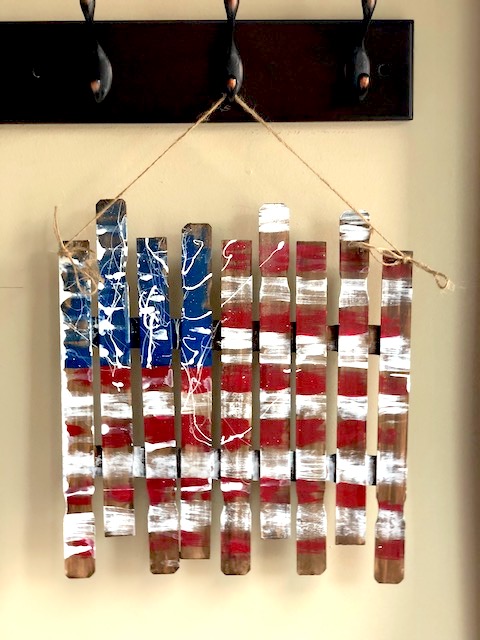
Project #1: Paint Mixing Stick Flag
*Materials needed: paint mixing sticks, acrylic paint, stain (optional), string or twine, scissors, power drill and drill bit of any size, wood glue.
Begin by setting 2 of your wood sticks parallel in front of you (with the blank side facing up). Then, drag the glue down each stick to prepare to glue the other sticks onto the front of it.
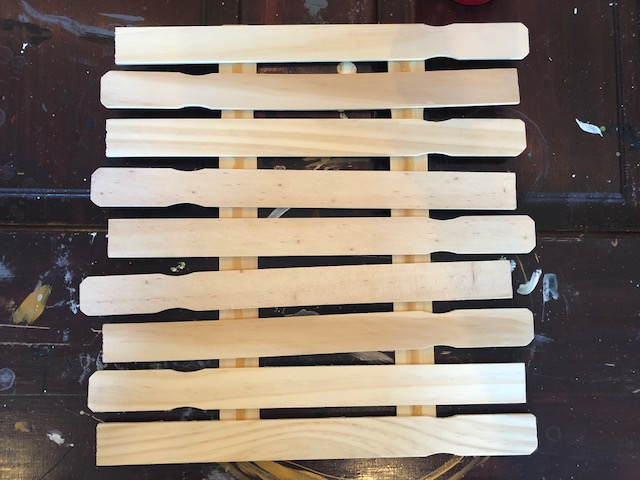
Next, you’ll want to place your first stick across the top of both of those parallel sticks, but this one should be perpendicular.
Repeat with the next stick, and continue repeating this until you have a fence like structure. IMPORTANT TIP: if you want the edges to appear imperfectly aligned like our photo shows, just stagger the sticks a bit. This makes it look more rustic and hand-made.
Let the glue dry overnight, and if you’d like to add weight, just stack a few books on the top to really hold the pieces in place.
Once dry, you may paint stripes on the wood structure with acrylic paint and paint brushes. For this rustic look, just use less paint and very whispy brush strokes so that some of the wood still shows through.
You may even want to stain the wood with a dark stain if you prefer that! Finally, drill a hole at the top of each side in order to thread your twine/string through and tie it in place.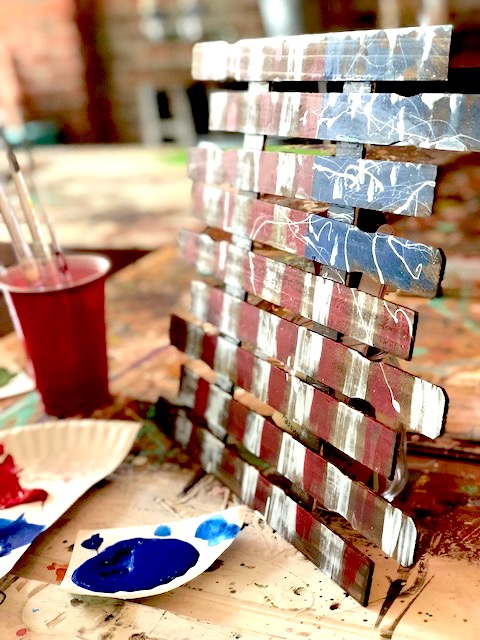
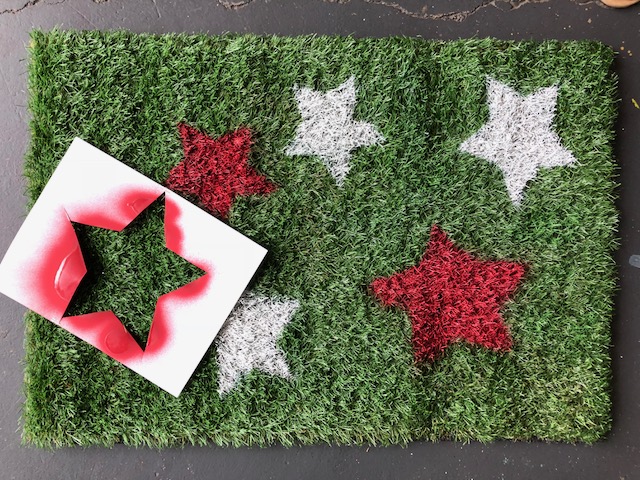
Project #2: Patriotic Welcome Mat (or LAWN!)
*Materials needed: 20″x31″ turf mat (from Amazon), Construction marking spray paint (from Lowes), cardstock paper or cardboard, scissors, a pencil.
Draw stars of different sizes on your cardstock paper or cardboard, and then proceed to cut those stars out. The paper AROUND the stars will be your stencils, NOT the stars themselves – therefor, you may want totape the places you cut back up to finish the stencil and make it more sturdy.
Place the stencils on your turf mat (OR ON YOUR LAWN IF YOU’RE REALLY FEELIN’ ROWDY), and hold the spray paint can about 2 inches from the grass. Begin spraying to fill in the star. Repeat for more stars.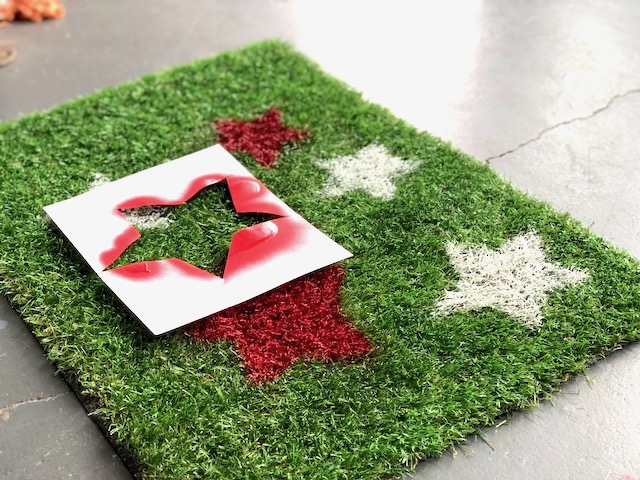
Please remember that this construction marking spray paint is completely safe for your grass (if you choose to do this on your lawn) and will not kill it. It’s made for the purpose of marking grass, so do not worry about a thing! Once it grows out a bit, and you cut the grass, it will disappear.
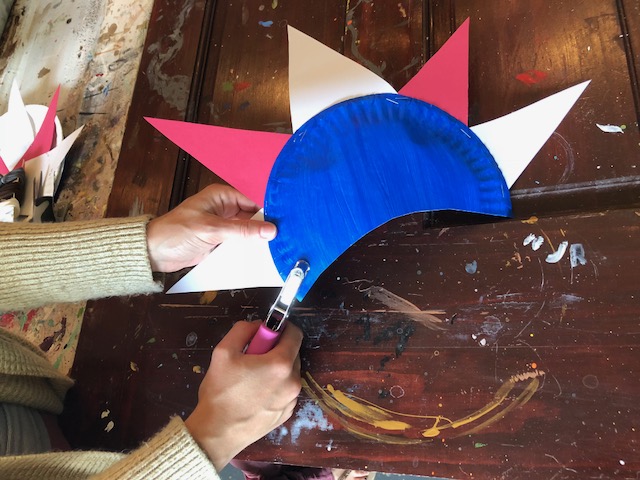
Project #3: Lady Liberty DIY Party Hat
(Model: our lovely intern, Libby!)

*Materials needed: paper plates, red and white construction paper, acrylic paints (red, blue, and gold), scissors, a hole punch, a piece of elastic band or stretchy string.
First, place your paper plate upright, and paint the entire top surface blue. Let dry.
While that’s drying, you may cut medium sized triangles out of your white and red construction paper. Hold them up to the paper plate or to the top of your head to determine how high up you want these triangles to be. Cut 3 white ones and 2 red ones.

Once the blue plate is dry, you may cut about a third of the plate off, but be sure to do it in a curved motion as the photo shows (this will be the bottom of the hat which will fall right above your eyebrows).
Use your hole punch to punch a hole on each edge of that curved line.
Use your stapler to begin stapling the triangles to the top of your triangle. Begin with a white one right at the top in the center, and work your way outwards adding a red on each side, and then another white on each side of that red.
Decorate with gold paint, glitter, stickers, or anything!
Tie your elastic on each each side where you punched the holes, and try on your new hat!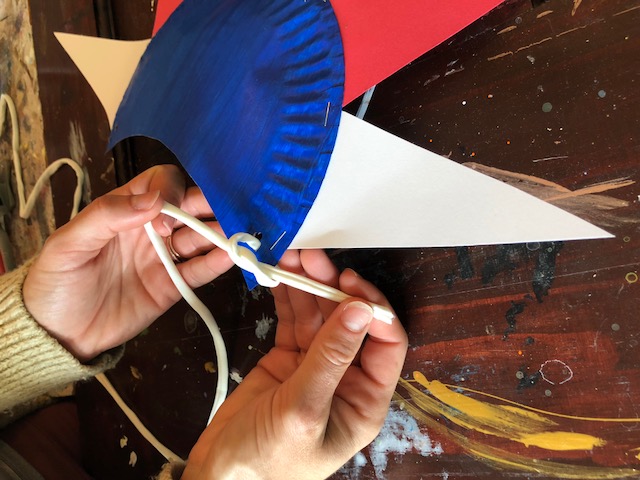