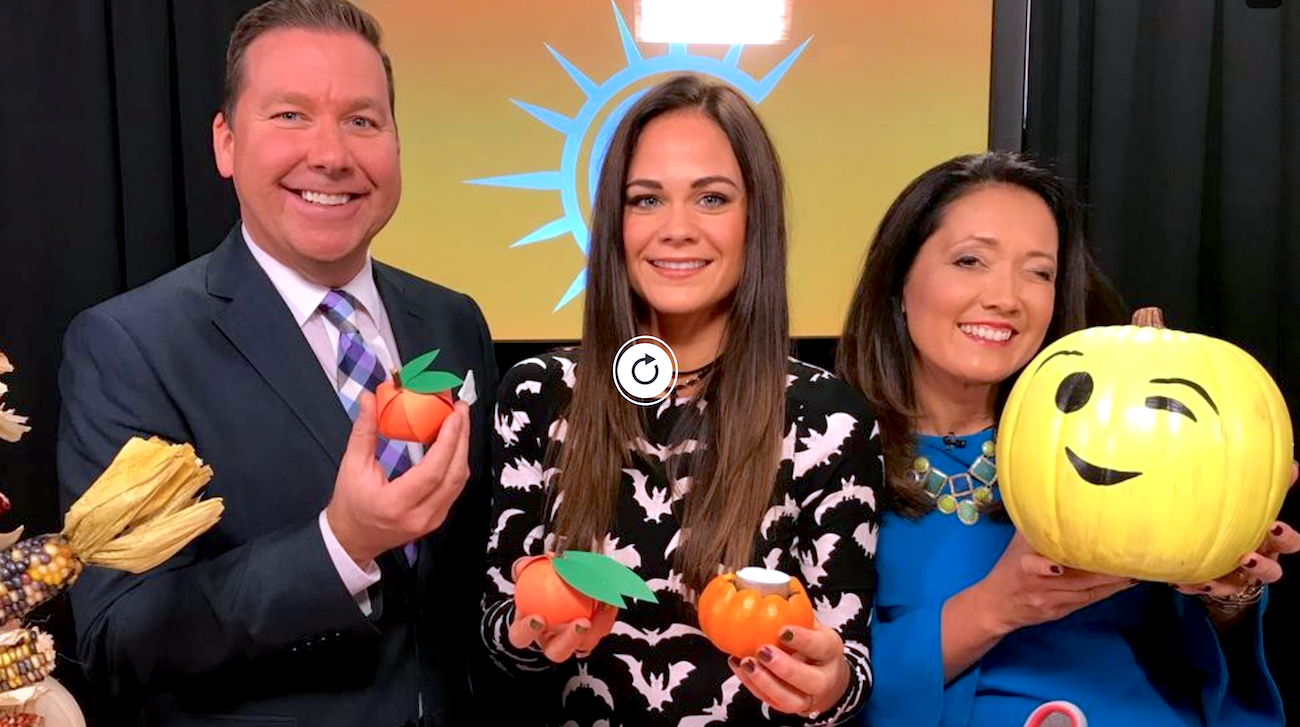
THIS JUST IN.. DIY’ing is the new self-care. So trick-or-treat yo’self this weekend to some Halloween crafting with your friends or with the kiddos!

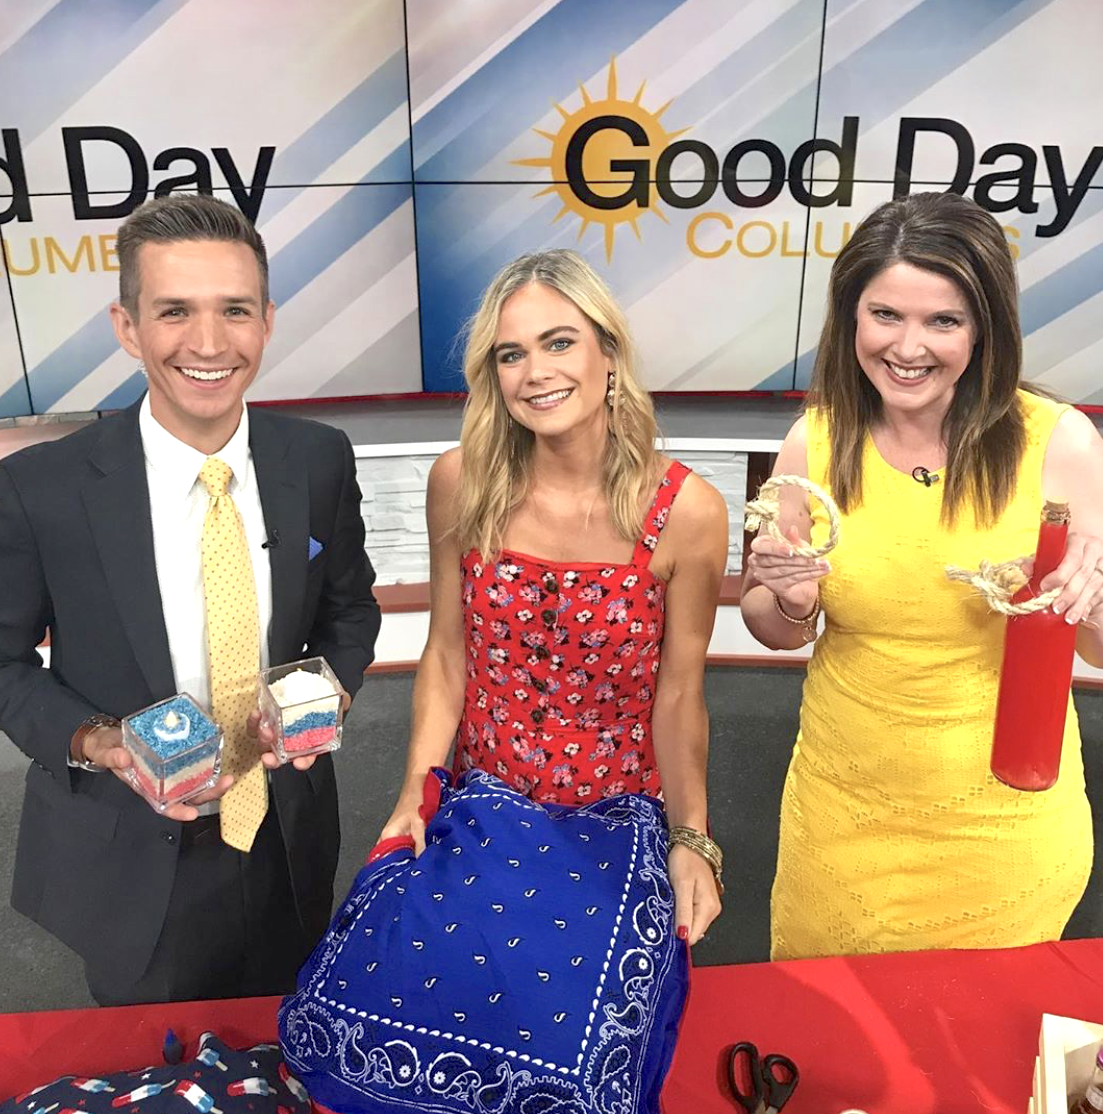
The last time I crafted with my good friends on Good Day Columbus was 4th of July, another favorite holiday of mine. Well I’m heading back this weekend to create some spooky decorations for Halloween, and my house will be the most festive on the block! That’s for sure. Most of these projects can be done with supplies you’ll find around your house, and if not, you can get it all at Michaels or the dollar store!
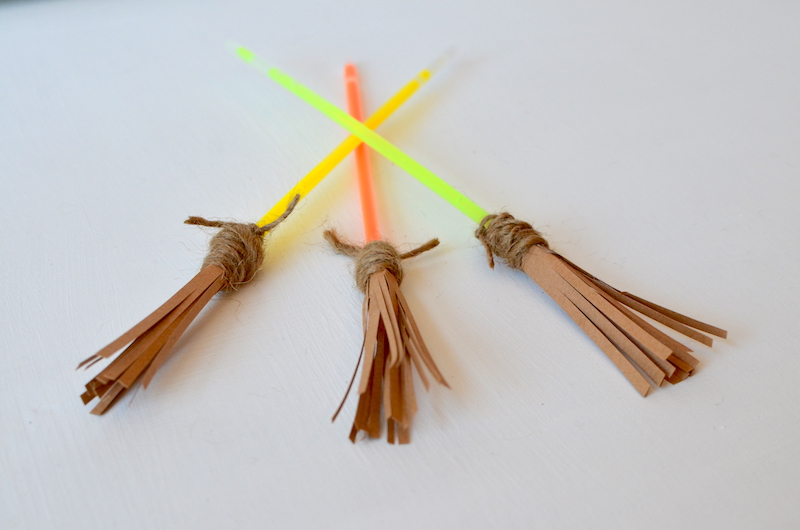
Project #1: Witchy Glow Stick Brooms
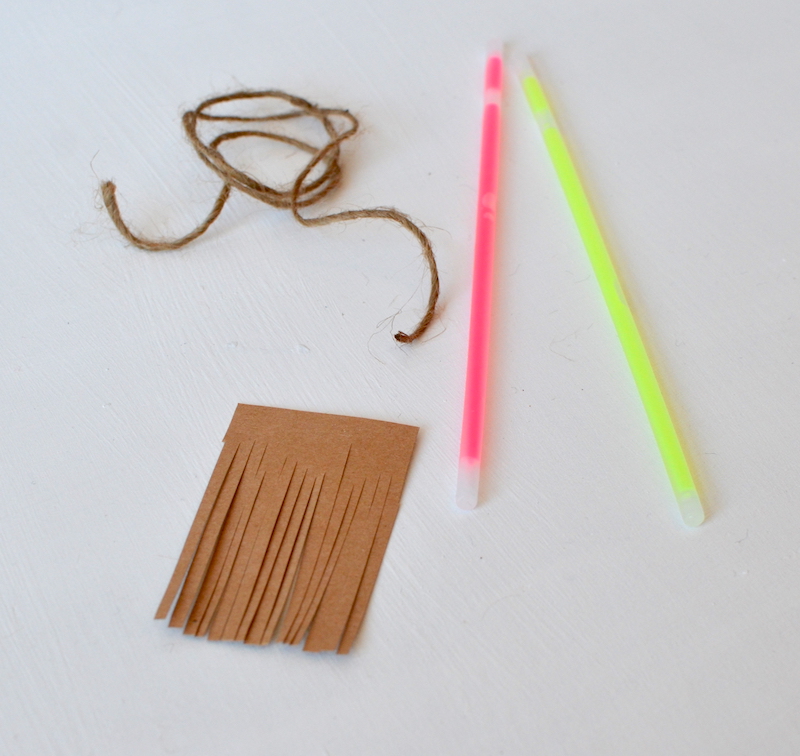
*Materials needed: glow sticks, brown construction paper, thin twine or brown yarn, hot glue and hot glue gun, scissors.
Begin by cutting a piece of brown construction paper that’s about 2″x4″. This will be the bottom of our broom. Once you have that rectangle cut out, begin cutting small slits on one of the longer sides, but don’t cut all the way to the end.. just slits from one short end to the other.
Next, you’ll want to add a strip of hot glue along the end that doesn’t have slits in it, and roll the bottom 1″ of the glow stick in that glue, wrapping the construction paper around like a sushi roll!
Pinch it so that the glue keeps the glow stick inside of this rolled up piece of construction paper securely.
To secure it in place even better, begin wrapping the twine around the construction paper where it meets the glow stick. This will add a little extra hold and look like the top of the broom.
Crack the glow stick so that it begins to glow! This broom is actually the perfect size for American Girl Dolls or teddy bears to use, too!
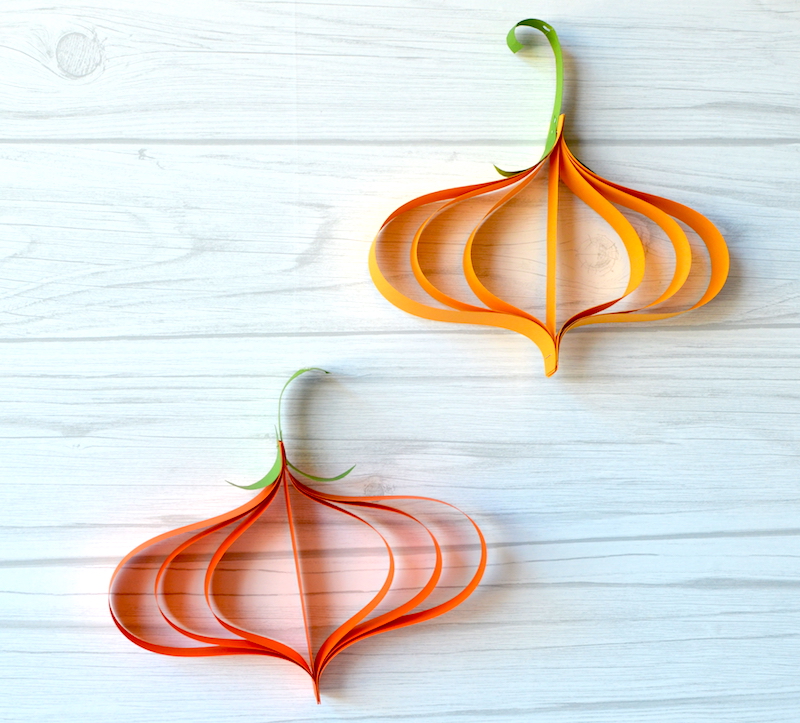
Project #2: Chic Hanging Paper Pumpkins
*Materials needed: orange construction paper, green construction paper, a stapler and staples, scissors, ruler, a hole punch, clear fishing wire, and a pencil.
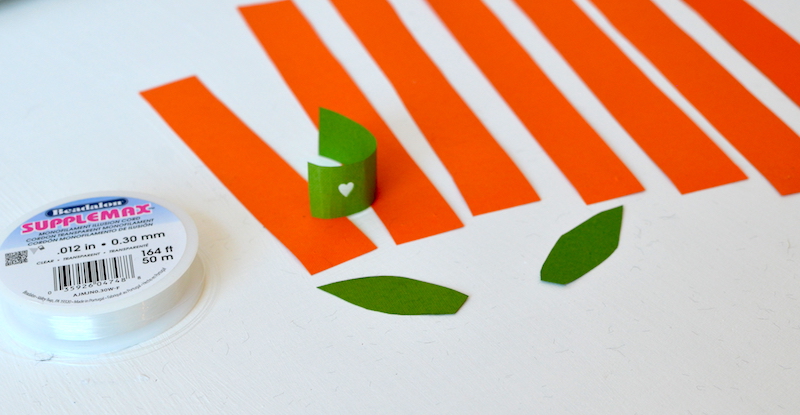
Begin by cutting two 1″x12″ pieces, two 1″x10″ pieces, two 1″x8″ pieces, and one 1″x6″ piece.
Staple the 7 strips of orange paper together on one end, in the order of 12”, 10”, 8”, 6”, 8”, 10”, 12”.
Then, bend each so that they collect at the other end of the 6” strip of paper.
Curl the paper of the leaves and stem, and hole punch the top of the curl on the stem.
Staple the stem and the leaves onto the orange base of the pumpkin.
Thread a piece of fishing wire through the stem of the pumpkin, and tie it!
Project #3: Bedazzled Pumpkins
*Materials needed: pumpkin of your choice, acrylic paints, assorted gems, (optional to get sticky back gems!), hot glue gun and hot glue sticks.
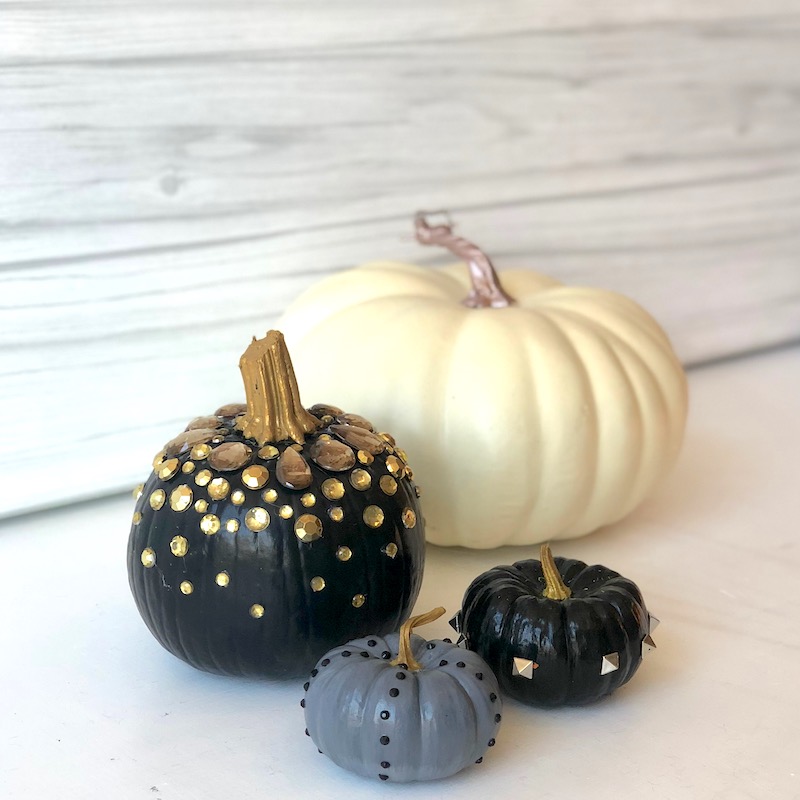
Paint your pumpkin with your choice of acrylic paint, let dry for about 10 minutes. Paint the stem of the pumpkin a different color to the rest of the pumpkin.
Then, use hot glue to attach the gems onto the pumpkin. You can put the gems in any pattern you want!
Make sure to pick off all of the strings left from the hot glue!
Project #4: Popsicle Stick Spider Webs
*Materials needed: white yarn, popsicle sticks, hot glue, hot glue guns, and scissors.
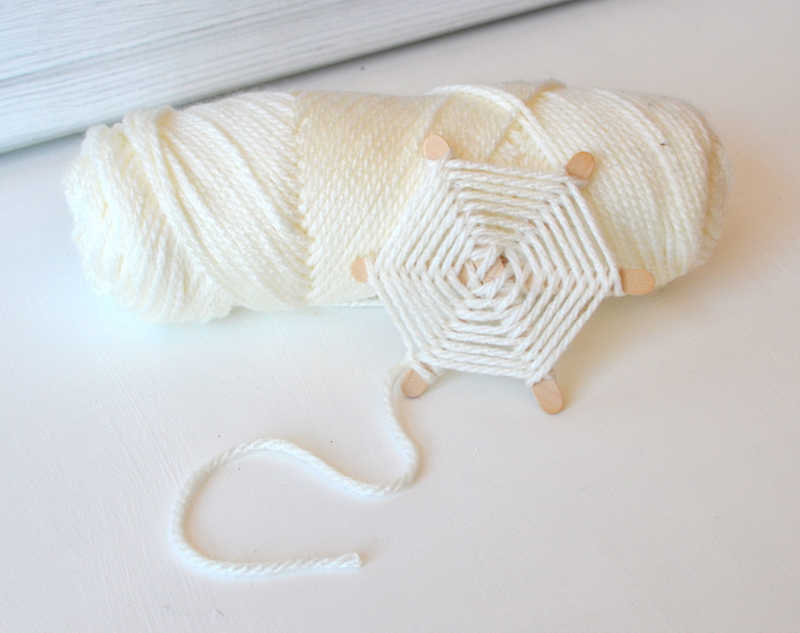
Glue your 3 popsicle sticks in a star shape. First glue two in the shape of an X, and then add the other through the middle.
Tie the end of your skein of white yarn to one of the sticks, and push the knot towards the center. Then, cut the excess few inches of string.
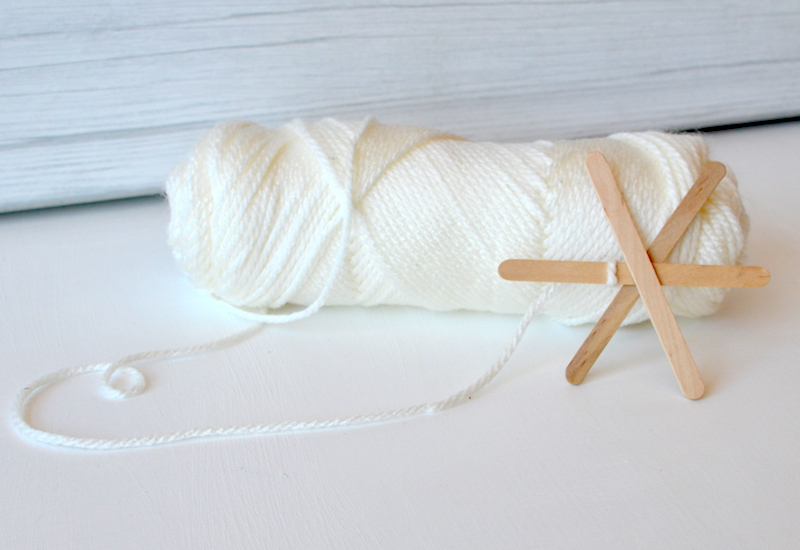
Begin wrapping the string under and around (one loop around) the next piece of popsicle stick above the one it was already tied to.
Continue to loop it around the next one, and then the next one, and continue until you’ve gone around the whole star.
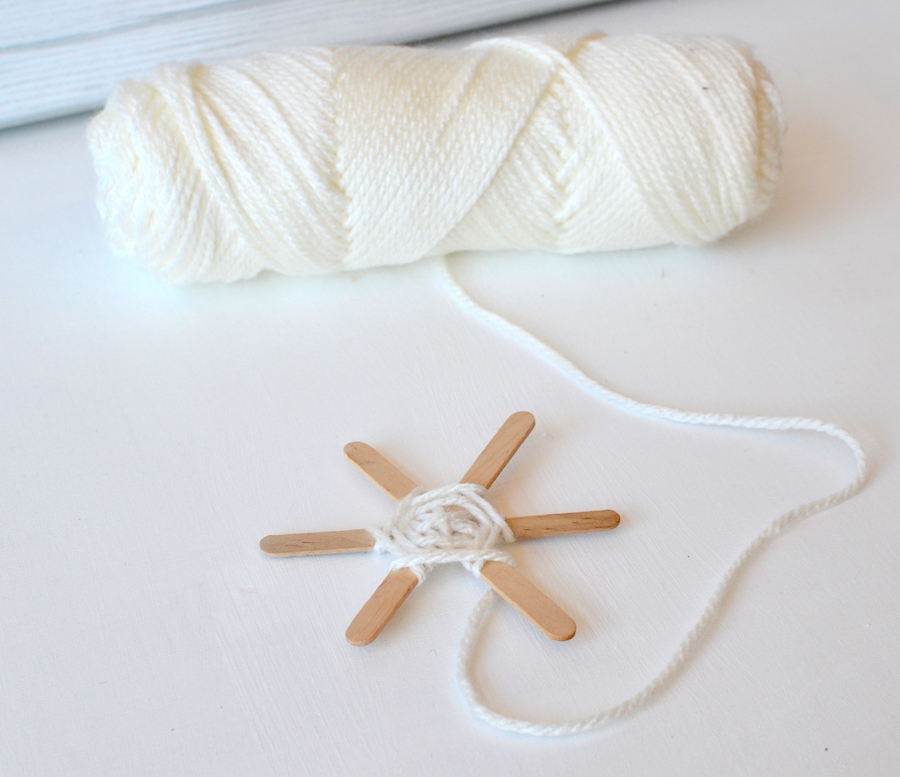
Next, continue this pattern multiple times until you’ve begun to create a spider web.
Knot the yarn on the end of one of the sticks, and cut. There you have it!
