Arts & Crafts with Studio 614 on Good Day Columbus { Fox 28 }
Good and bad news! The bad news is that the summer is almost over. The good news is that the kids are going back to school. WOHOO! Let’s celebrate with some back to school crafts. The best time together with family is when we are creating things. These back to school crafts are useful all year around, and they will surely get the kids pumped up to meet their new teachers.
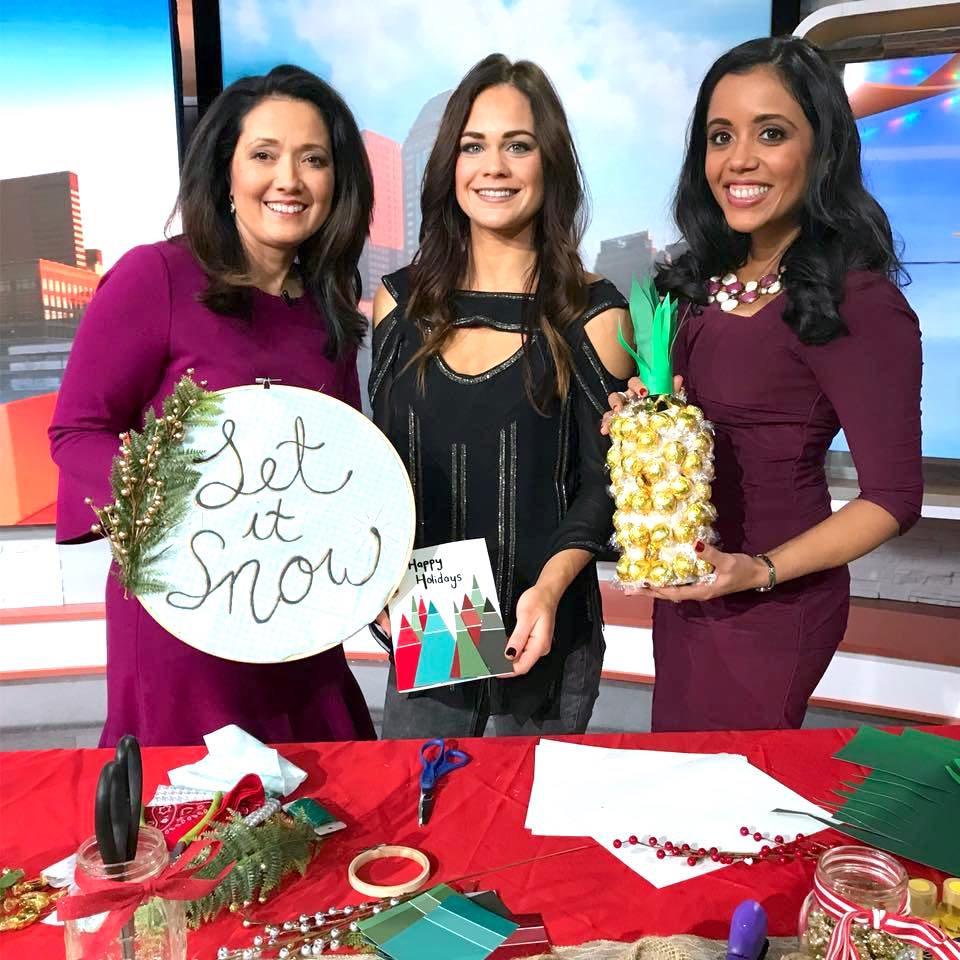
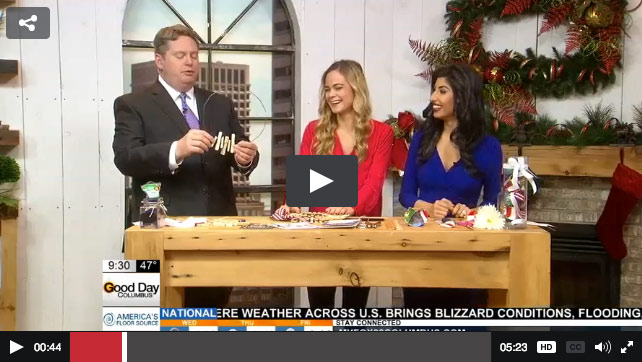
This morning, I joined Courtney & Shawn on air to demonstrate these crafts, and although we had only 5 minutes, these activities can surely keep the kids busy for hours.. and what better way to decorate your refrigerator than with some hand-painted masterpieces!
Check out the video below along with our step-by-step instructions!
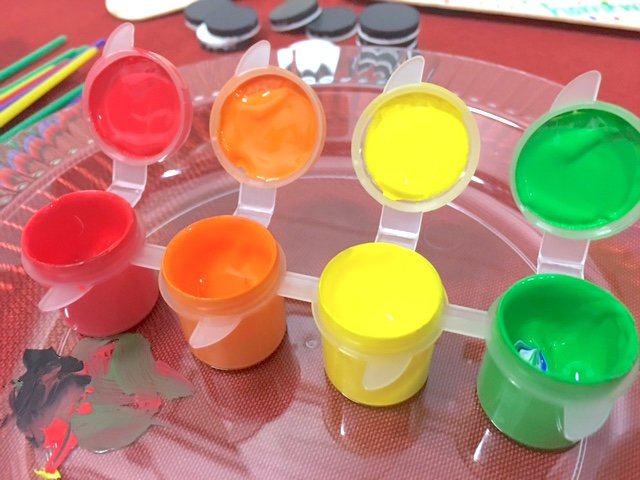
{ homemade magnetic popsicle sticks }
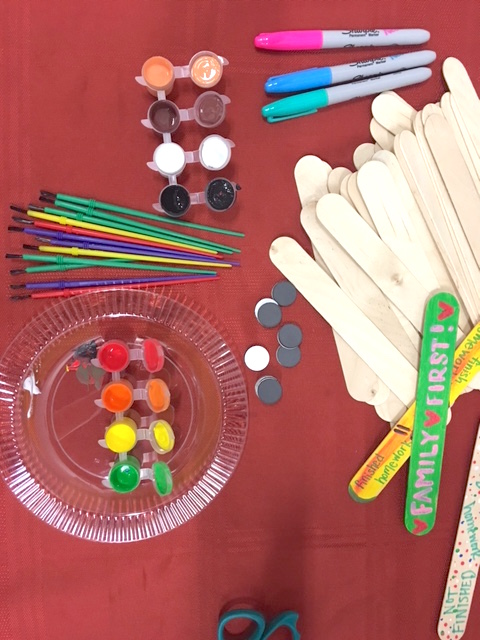
Supplies needed: popsicle sticks (over-sized giant ones are sold at the dollar store), glue or double-sided tape, small circular magnets, acrylic paints, small brushes, paper towels for clean-up, and Sharpie markers.
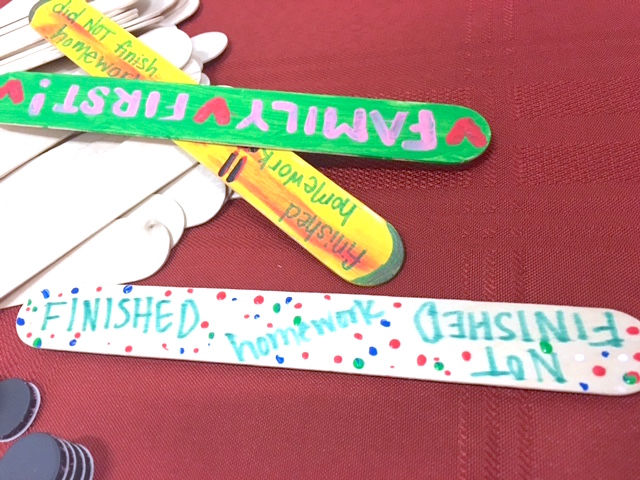
The kids can decorate these popsicle sticks and glue magnets to the back of them! The inspiration behind this craft was simply the dishwasher magnets that say “dirty” on one side and “clean” on the other- so that the magnet can be flipped to read whichever one is correct!
This time, we painted “homework finished” or “homework not finished”! 😉
Have the children use acrylic paint or Sharpie markers to decorate the popsicle sticks. The kids can usually stick magnets to the back of them if you have magnets with double-sided tape. Otherwise, tacky glue will work.
Another idea is to decorate these popsicle sticks with inspiring quotes or encouraging words. If there’s any time for stress to creep into our lives, it’s during the school year when homework and extra-curricular activities are causing us to live the most hectic lives, and we don’t have enough time to rest and spend quality time with family. These popsicle sticks of encouragement could remind us that life is short- and family comes first.
Be sure to allow the paint to dry before sticking these on the fridge!
{ box tops challenge }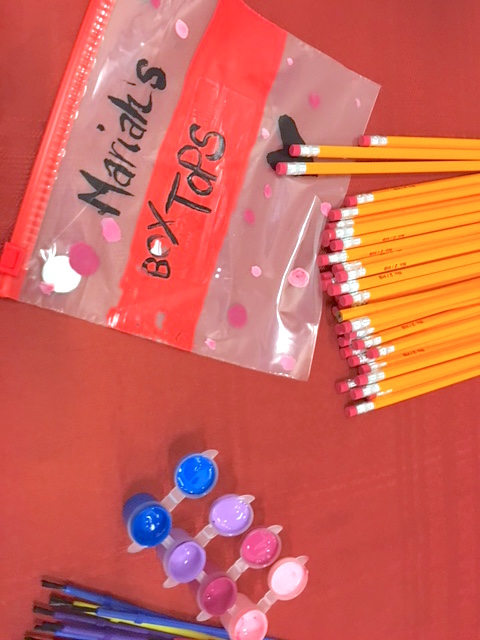
Supplies needed: zip-lock bags, acrylic paints, circular magnets, double-sided tape or glue, paint brushes, paper towels for clean-up, and a collection of box tops!
We have way too many containers in my house. I have 3 different piggy bank containers just for my vacation funds.. and I know it’s not because I have 3 vacations planned. It’s just simply because I have so many different jars for coins, and this tends to clutter the book shelves and the top of the refrigerator.
Well here’s a solution to clearing up some counter space. Many of you have children who collect box tops at school because 10 cents of each box top goes back to their school.. and plus, this means they can eat as many Lucky Charms as they want! Well, here’s a simple way to store all of those and spice of the refrigerator with some color.
Have the kids decorate their own zip lock bag and label it with their name. Then, stick 2 magnets towards the top near the zipper, on the back side of the bag. The front side should display nicely on the refrigerator. Now, when the kids collect their box tops, they’ll just simply open the bag and store them right in there while it’s attached to the fridge.. clearing up more countertop space for you! This is also a fun, motivating way for kids to get excited about collecting something for a good cause.
{ pencil flower vase }
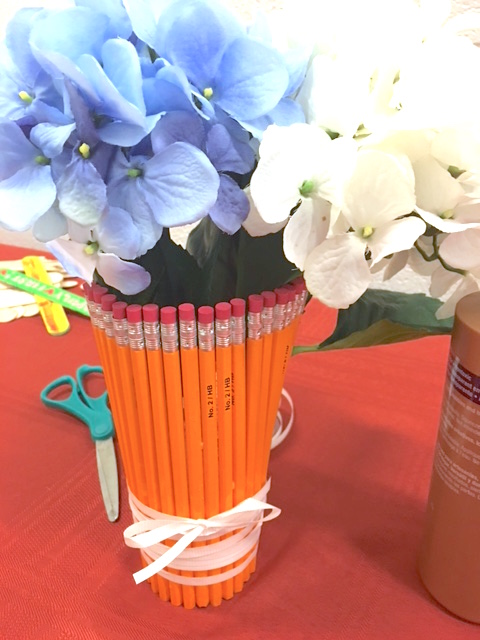
Supplies needed: traditional number 2 pencils, flowers (fake or real), any kind of plastic cup (must not be taller than a pencil’s height), tacky glue, an optional ribbon for looks, and paper towels for clean-up!
What better way to get on the teacher’s good side this year than to arrive with a fresh handmade vase of flowers on the first day of school? Am I right, or am I right?
It’s as simple as it looks, too! Just glue pencils along the length of the cup, upright. Make sure that you hold each pencil on for a few seconds to know that it is in place so that the glue can dry with it perfectly upright. Take your time with this, as the glue might take a while to dry depending on which brand you are using. We want to work our way around the entire cup, and if you’d like the glue to dry as tightly as possible, then you can also tie some ribbons around it. Cut some flowers, and arrange your bouquet for the teacher! You may also have the kids paint the outside of the vase along the surface of the pencils if they’d like to. Just be sure to wait until the glue is completely dry before doing this, and remember to tell them that the surface is bumpy and will be somewhat difficult to paint detailed shapes on.
There you have it: the perfect classroom present.
Thanks again for having me on air this morning! I always have a blast with you guys!
Meg
