You probably have a Pinterest board of “cork”-related projects that you haven’t gotten around to, as well as a few emptied pickle jars filled to the brim with wine corks you’ve saved. Am I right?
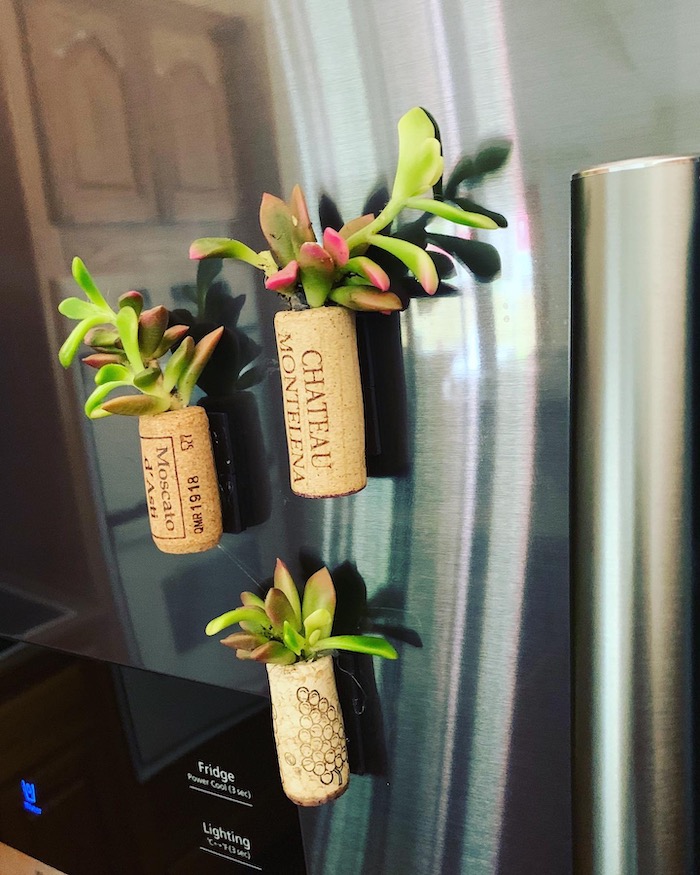
Well, here is your up-cycle project for all those corks. These refrigerator succulents are the easiest cork project yet, and painfully adorable!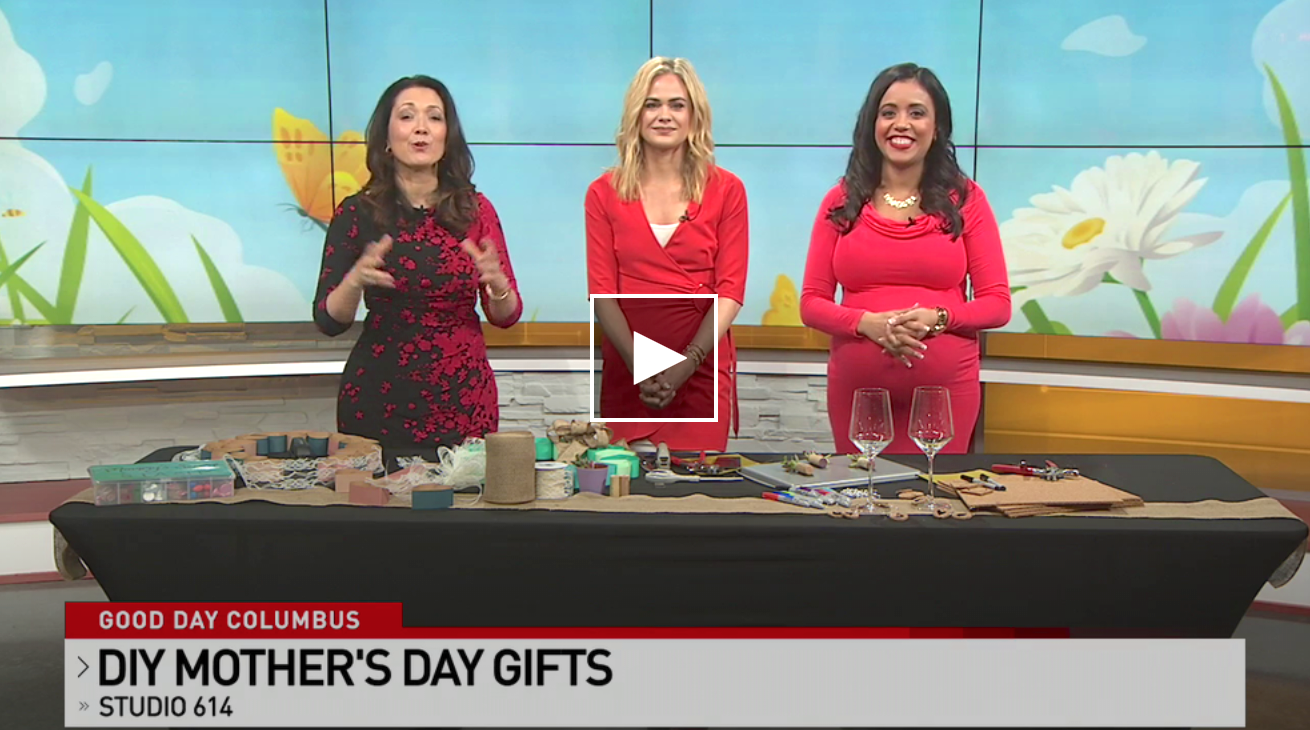
Supplies for Refrigerator Succulent Wine Corks:
- Wine corks (can be rubber or cork)
- VERY small succulent plants (with roots and a pinch of dirt)
- Power drill
- 1/4″ drill bit
- 1/2″ drill bit
- Stick-on magnets
Step 1) Begin by using your 1/4″ drill bit to gently drill a hole into each cork, beginning with the end of the cork that already has a hole in it (from the corkscrew originally opening the bottle). *If you haven’t used a power drill before, consult with someone who has so that they can help you out!
Step 2) Now, you’re ready to move up to the 1/2″ size drill bit. The reason we drilled a smaller hole first was so that the cork doesn’t break and fall apart. It’s always safe to start with a smaller hole and work your way to the larger drill bit. Be sure that the depth of the hole is about 80% of the cork so that there’s plenty of room for the succulent roots.
Step 3) Dig up the succulent out of the container it came in. Then, carefully add a pinch of dirt inside the cork and shove the roots down into the hole. If it doesn’t stay in place, you may use a dot of hot glue on the inside of the cork, but only on the sides of the succulent and not touching the roots.
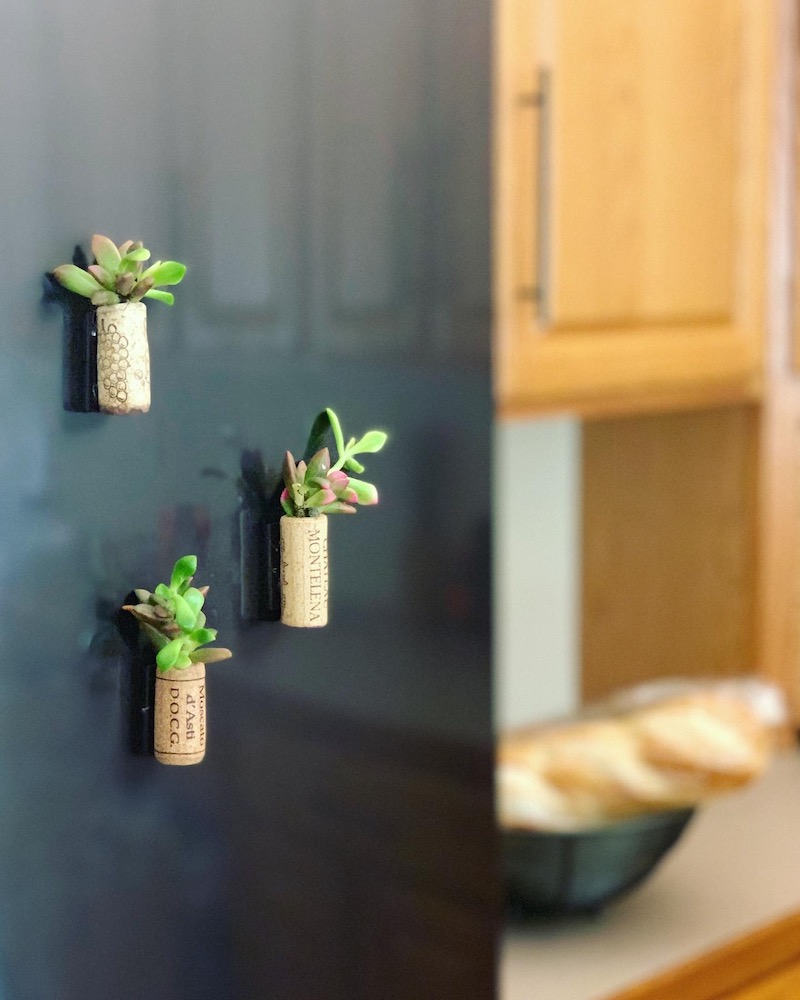
Step 4) Add your stick-on magnets to the back, and place on refrigerator! There you go – your refrigerator is now the cutest on the block.
Supplies for Paper Heart Wreath:
- Construction paper (any colors)
- Stapler
- Scissors
- Ribbon for Bow (optional)
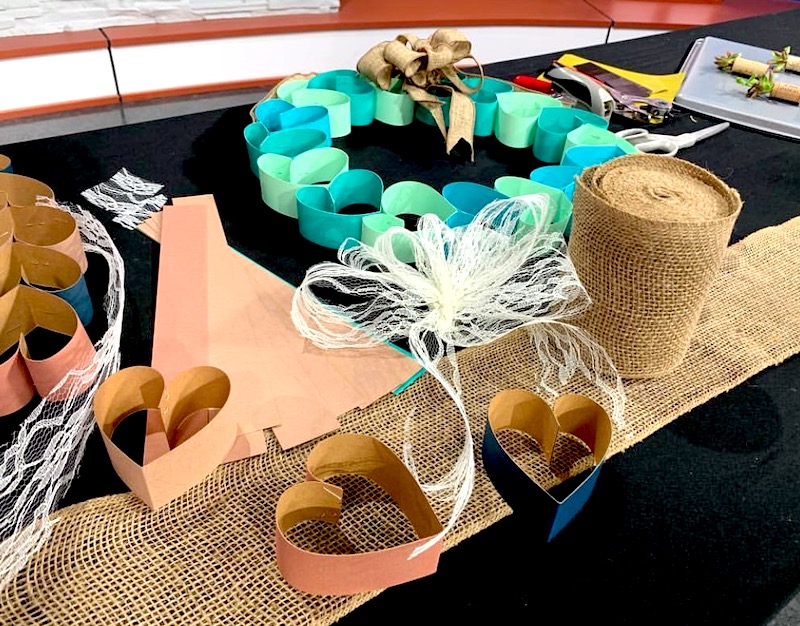
Step 1) Begin by cutting about 20 strips of construction paper to be 12″ long and 1.5″ wide.
Step 2) Next, Fold each piece in half.
Step 3) Fold the two ends together and inward to form a heart, and add 2 staples to that pinched inside point of the heart.
Step 4) Once you have all 20 hearts formed, you can connect each to the previous, forming a chain. You’ll staple the bottom of each heart to the top of the previous one, adding 2 staples (one on each side).
Step 5) Once you have formed the chain, connect the two ends so that it has formed a wreath circle.
Step 6) Choose your ribbon to hang the wreath, and cut about 2 feet of this ribbon. Staple each end to each side of the wreath anywhere. You may want to have someone else hold up the wreath so that you can determine where to staple. Since this is made of paper, it’s all about balance. Everyone’s construction paper and ribbon will have a different weight, so where you staple the ends of these ribbons will be determined by where the wreath is heaviest.
Step 7) Once complete, you may want to add a bow to the top. Be sure the weight of the bow is minimal. The weight of it might actually make your wreath fall more circular, as it tends to become an oval once you’ve hung it- so the bow helps even out that weight!
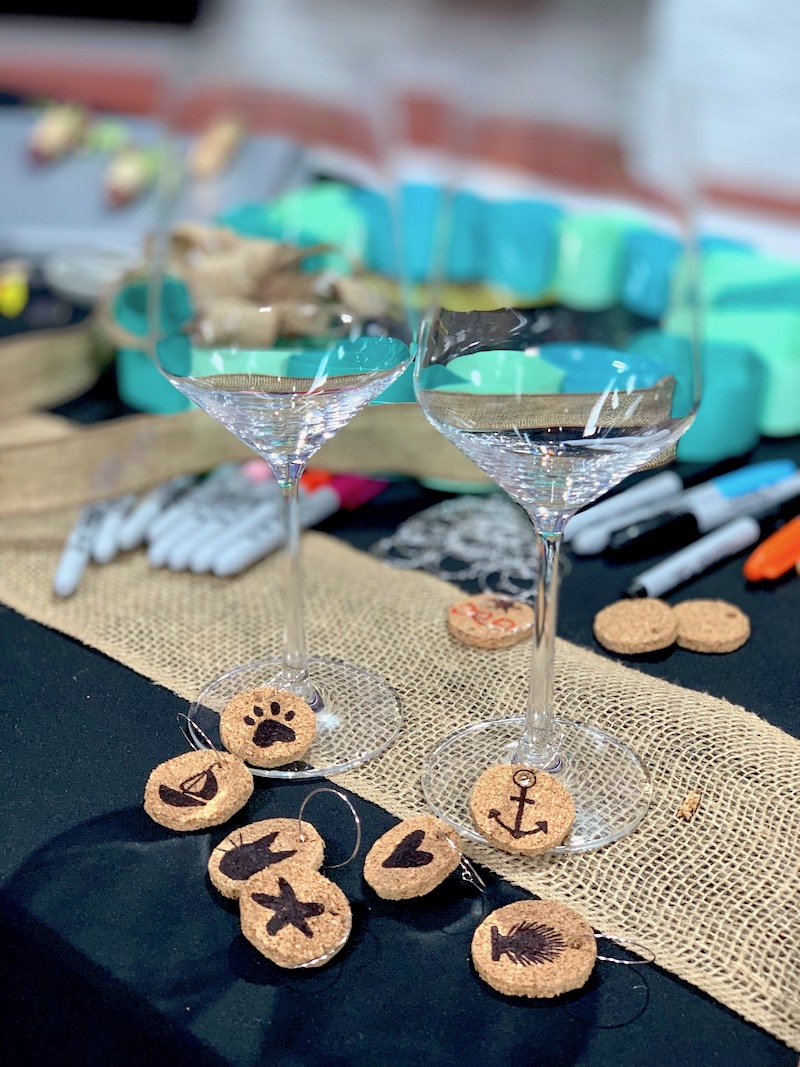
Supplies for Cork Wine Glass Markers:
- Flat cork board (in office supplies section of the store)
- Hole punch
- Scissors
- Wine marker rings (in jewelry section or available on Amazon)
- Fine-point sharpies and pencils
- Fine grit sandpaper (we used 320)
Step 1) Mark a few circles (about an inch in diameter) on your cork board.
Step 2) Continue to cut out all circles.
Step 3) Sand down the edges with your sand paper so that they are smoothe.
Step 4) Use your fine point sharpies to decorate each one however you please.
Step 5) Use a hole punch to punch a hole on the top of each circle.
Step 6) Thread your rings through the holes you just punched. All finished!
And that’s a wrap for our springtime Mother’s Day DIY projects!
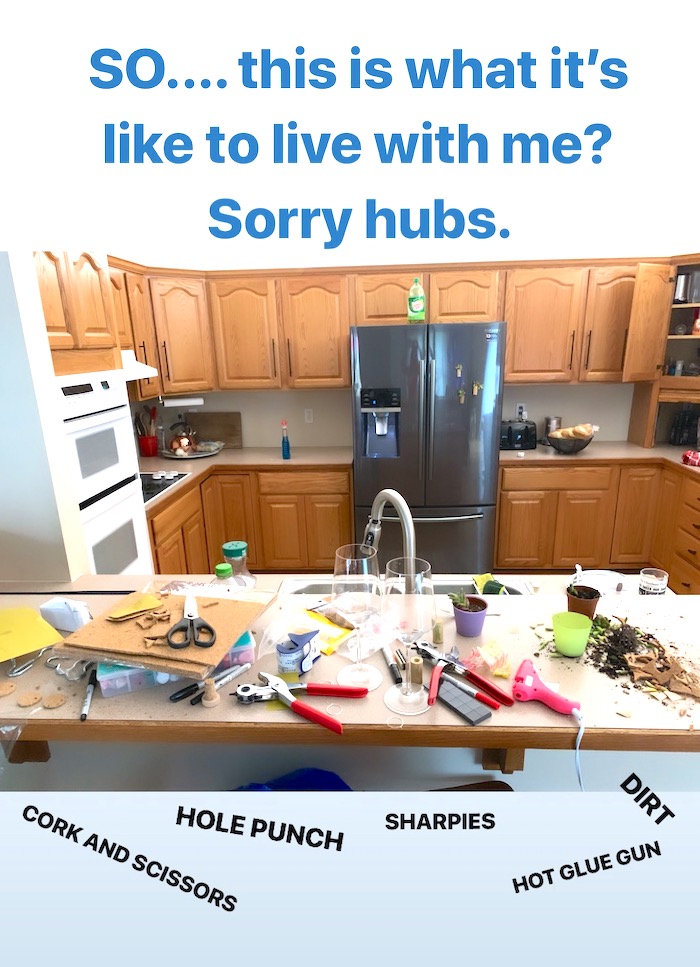
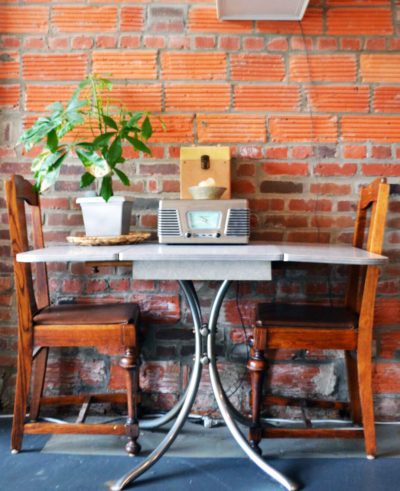
Oh, P.S. Here’s a picture of my kitchen, most days.
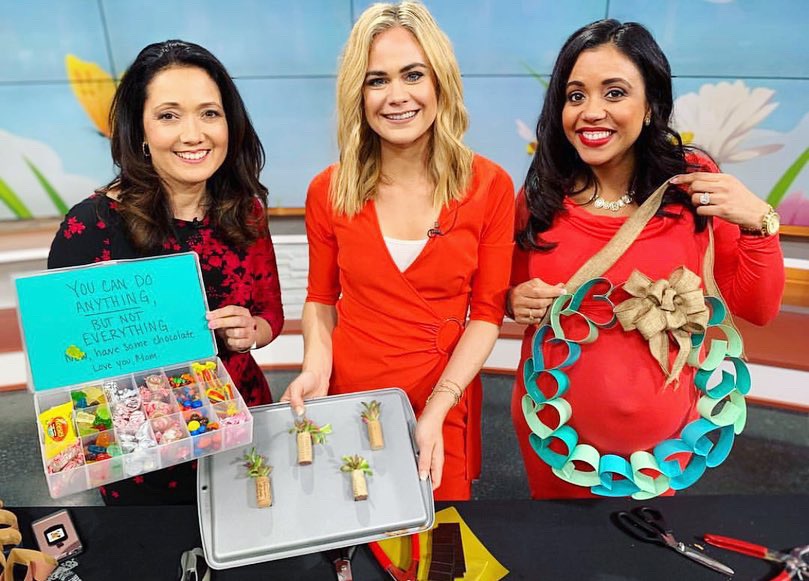
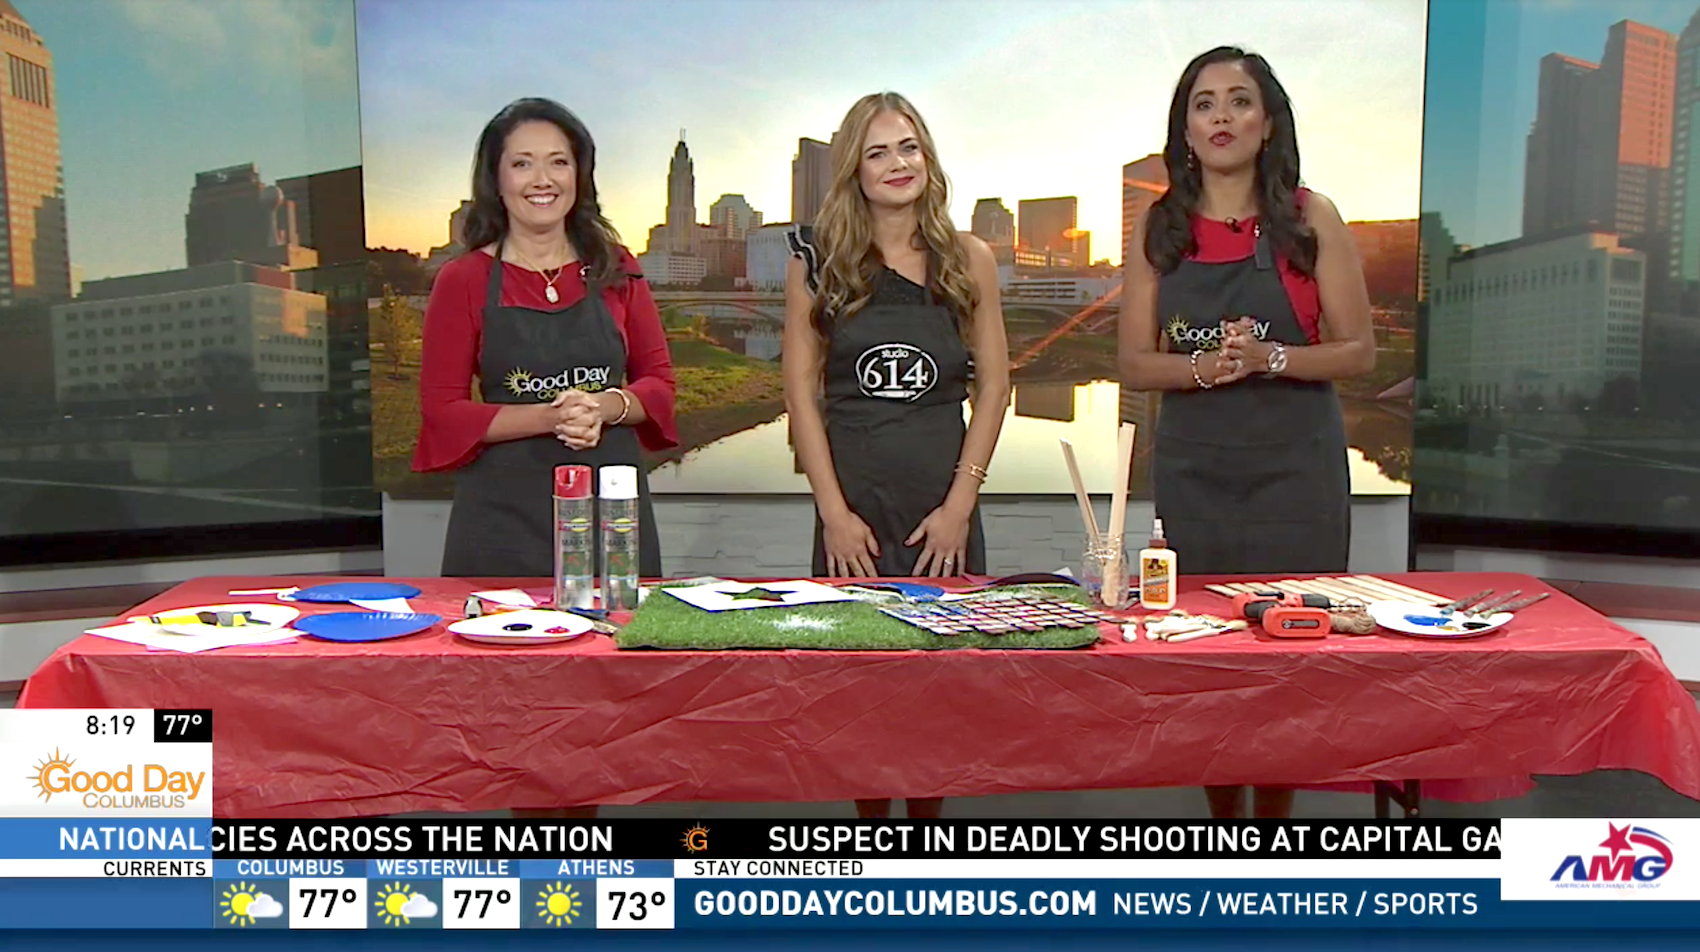
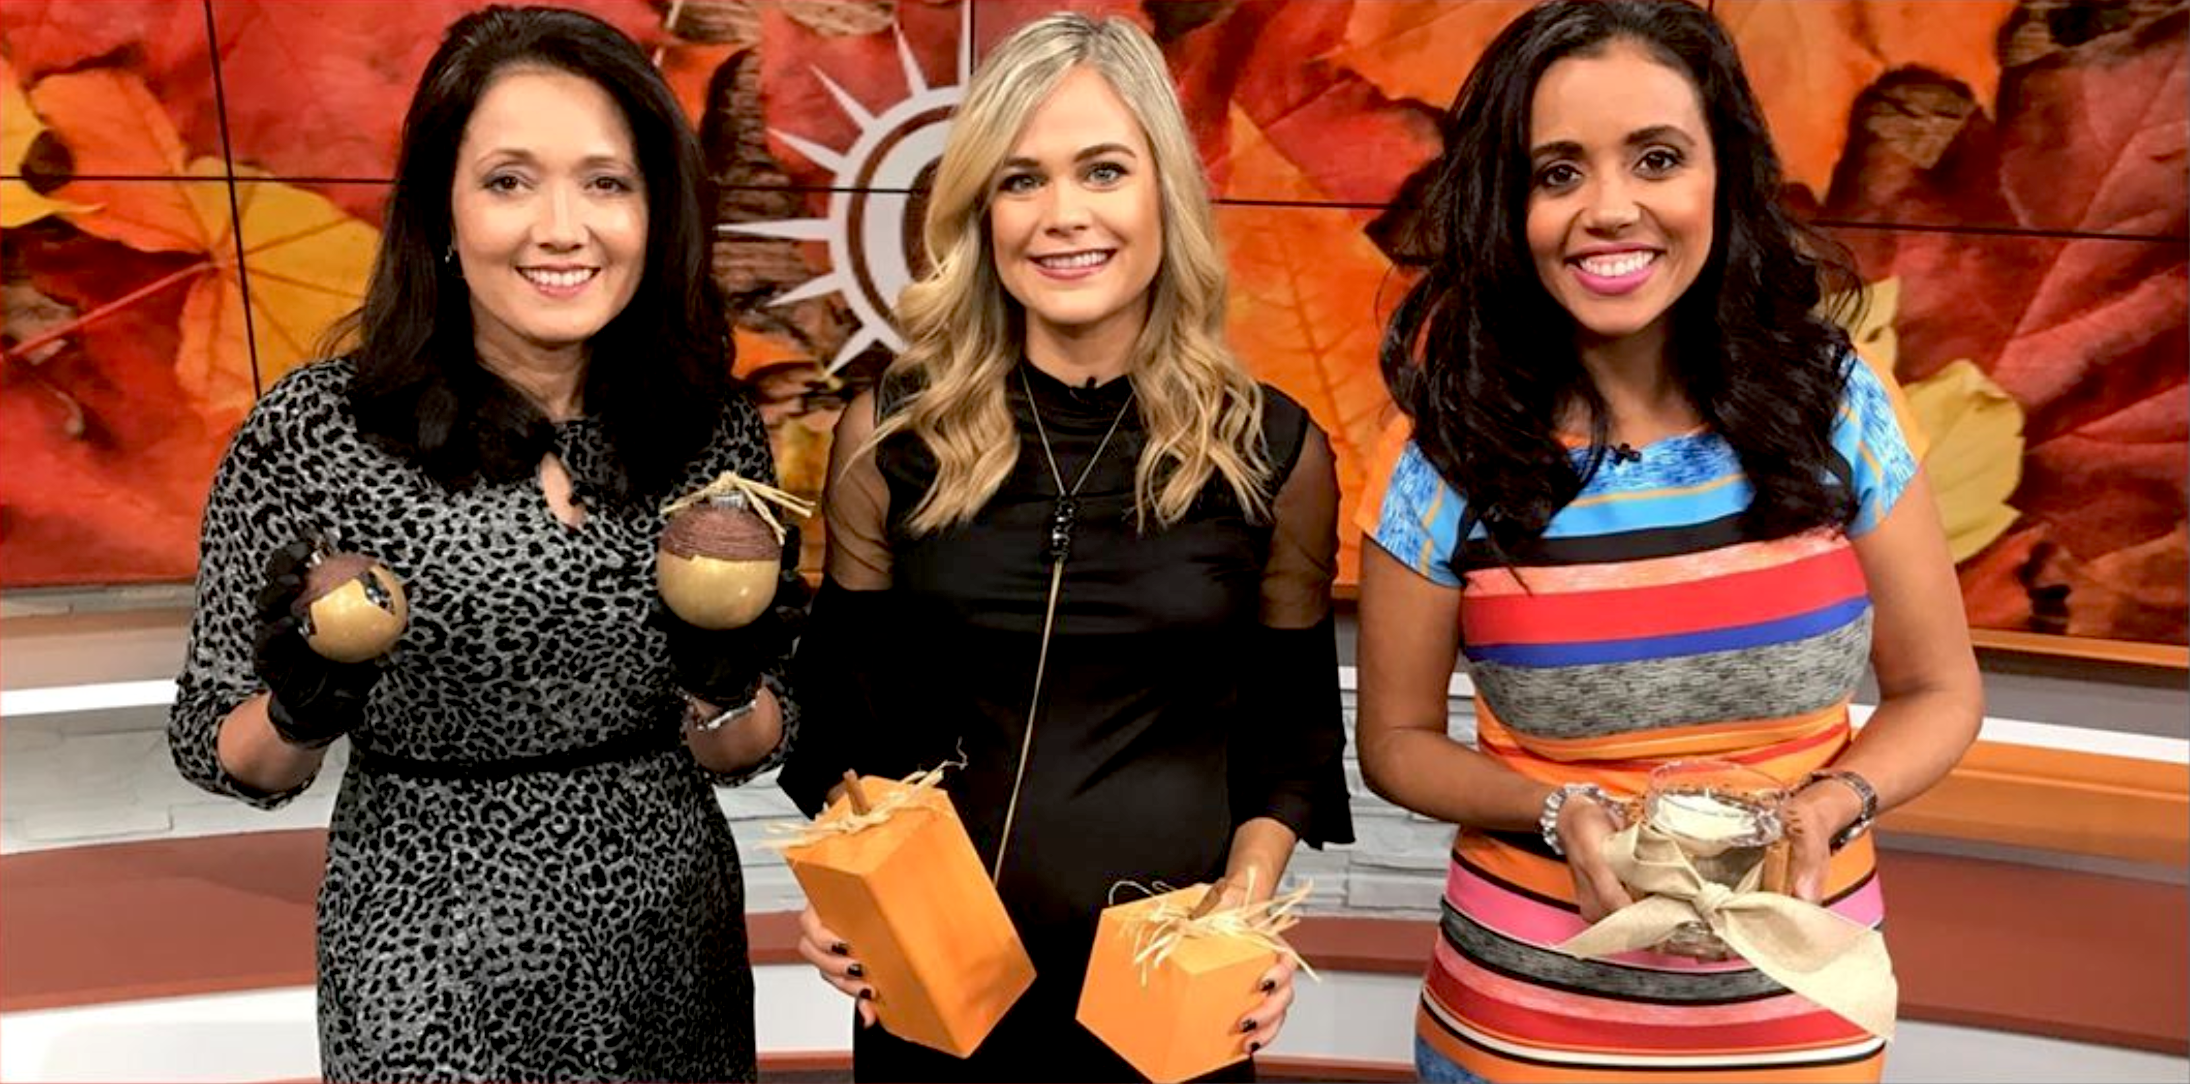
Thank you for joining us in our springtime Mother’s Day crafting. I had so much fun with our Good Day Columbus friends! See ya’ll next time, and Happy Mother’s Day!
xo, Megan Pando


