Good Day Columbus on Fox 28 – Arts & Crafts with our Owner, Megan Sharbaugh
This morning, we showed you THREE wonderful crafts to try out when the weather isn’t so friendly outside. On snow days or on Sunday afternoons, here’s a great way to keep the children interactive and occupied with fun crafts. Most of the supplies can even be found around the house! Some take a longer time than others, but they’re great for all ages.
Craft # 1: DIY Dream Catcher
Supplies:
-Yarn, string, or leather rope
-Scissors and wire cutters
-Wire coat hangers
-Beads or feathers
Difficulty level: Easy!
Price: Below $10
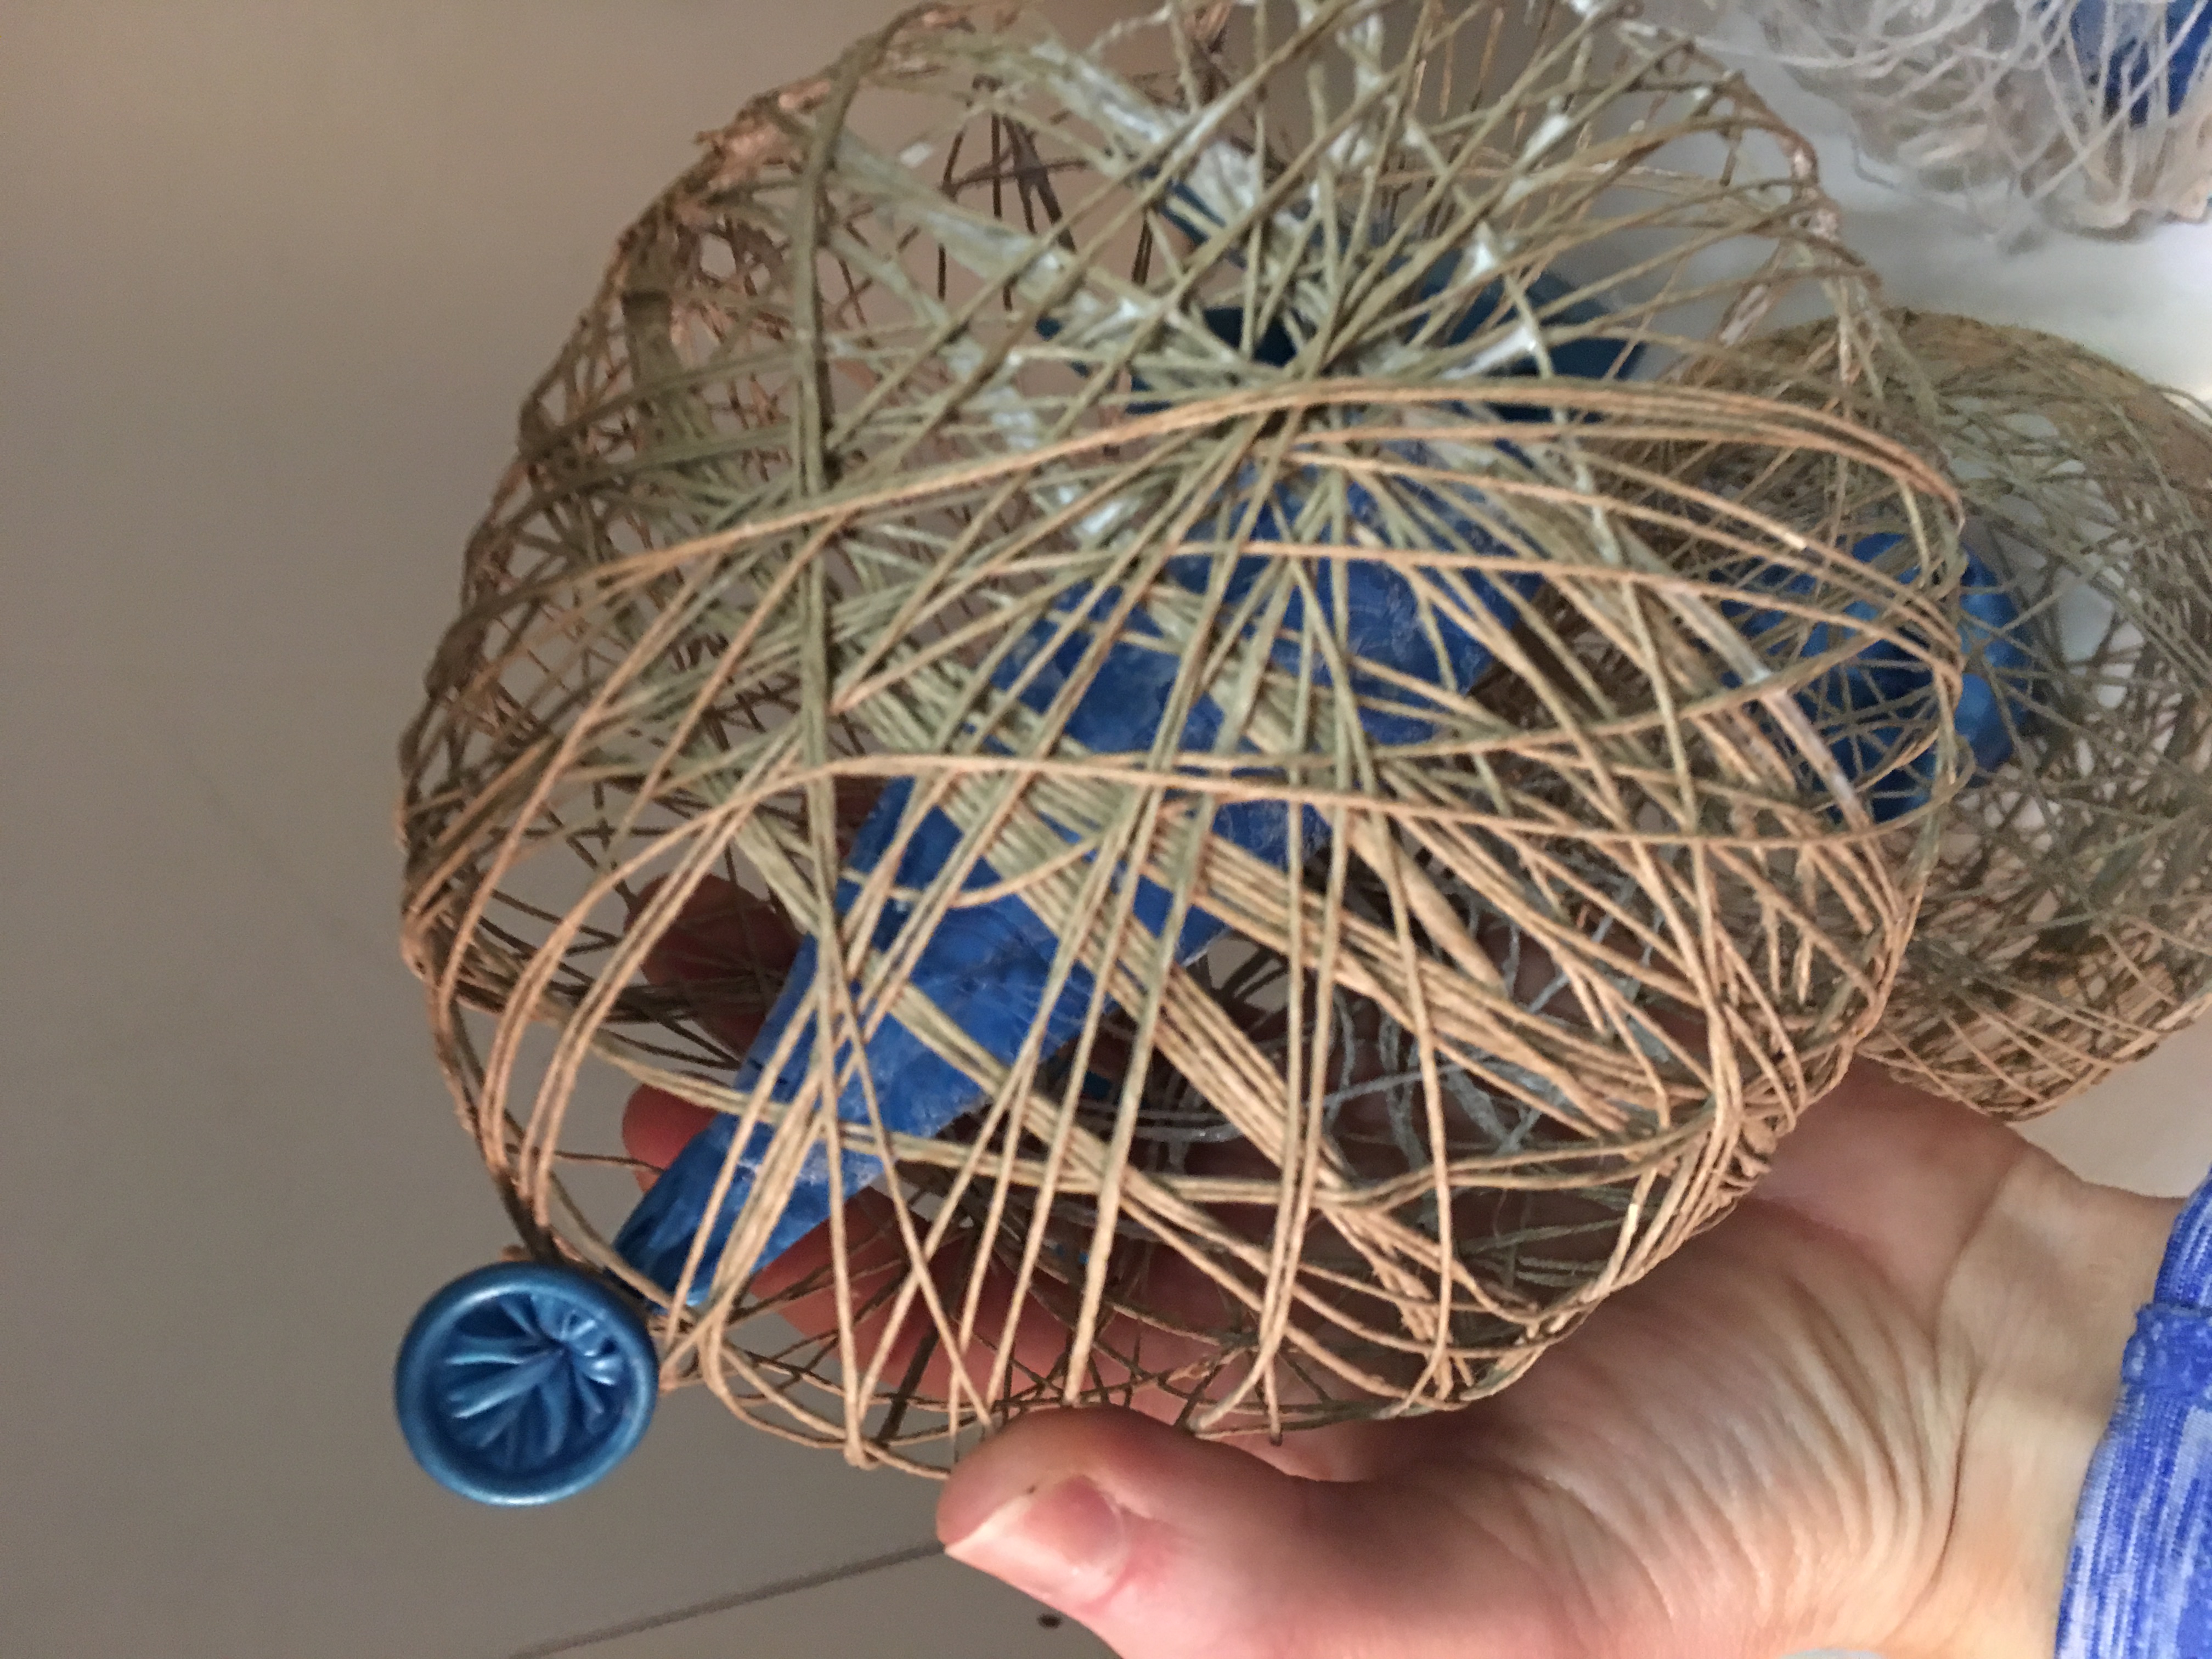
- Begin by forming two shapes with the coat hangers, and use wire cutters to cut the excess off. One of the shapes should be large (around 12 inches in diameter), and the other should be smaller for the center (as pictured below). These shapes could be anything- hearts, stars, circles, or even the shape of our beloved state, OHIO!
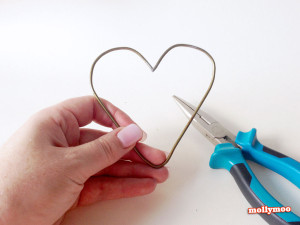
- Next, use your yarn to tie a knot on the top of the larger shape, and now we will start to weave the yarn into the smaller shape and back out to the larger one. This will connect the two.
- We want to be sure that we are looping around each shape twice. Loop it through the smaller shape, then only go around the smaller shape once, then take the yarn all the way back around the larger shape… then loop it around ONLY the larger shape again. This should form a small twist everywhere that the yarn meets the wire.
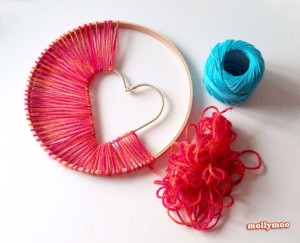
- We then are able to add the decorative strings to the bottom of the dream catcher, add some colorful beads and even feathers! Here’s an example of what the leather rope would look like..

Craft # 2: Hand Knitting
Supplies:
-Yarn or string
-Scissors
-Your hand!
Difficulty level: Easy!
Price: Below $10
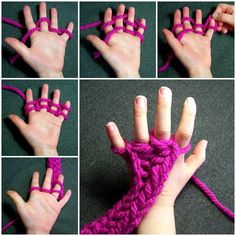
- -Begin by placing the end of your yarn between your thumb and pointer finger, then hold it in place with the tip of your thumb.
- -Weave the yarn over top of your first finger, behind your middle finger, over your ring finger, and behind your pinky. Then wrap it around the pinky and weave it back the opposite… so this time we will take the yarn over the pinky, behind the ring, over the middle, and behind the first finger. -Now, we will simply cross that yarn over the first finger, and repeat that step.
- -After repeating, we will notice that we have 2 stitches on each finger. The bottom stitch will come over the first stitch and drop completely. We can start with the pinky and work our way towards the pointer finger. Then, we willl repeat this step over and over again.
- -After a couple times of repeating this step, we will notice that the yarn begins to grow!
Craft # 3: Marshmallow Shooters
Supplies:
-Plastic, paper, solo,or styrofoam cups
-Scissors
-Balloons and marshmallows
Difficulty level: Easy!
Price: Below $5
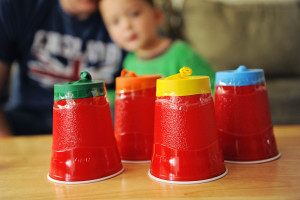
- Begin by cutting the bottoms out of the cups.
- Tie off your balloons without filling them with air. Then simply cut about a quarter inch off the end of the ballooon that doesn’t have the knot on it.
- Cover the end of the cup with the balloon so that the knot is on the bottom the cup.
- Add your marshmallows inside the cup, and wear eye protection!!
Thank you Good Day Columbus for having me on air today! We can’t wait for next time.
Check out our calendar of open art classes. We offer some Pinterest classes with crafts such as arm knitting, glass painting, and more!
Until next time,
-Megan





Comments are closed.
Hello admin ! I read your articles everyday and i must say
you have high quality content here. Your blog deserves to go viral.
You need initial traffic only. How to go viral fast? Search for: forbesden’s tools