Whether Dad is a golfer, a bourbon collector, or a foodie, we’ve got the perfect project you two can work on together this Father’s Day, or surprise him and make it on your own!
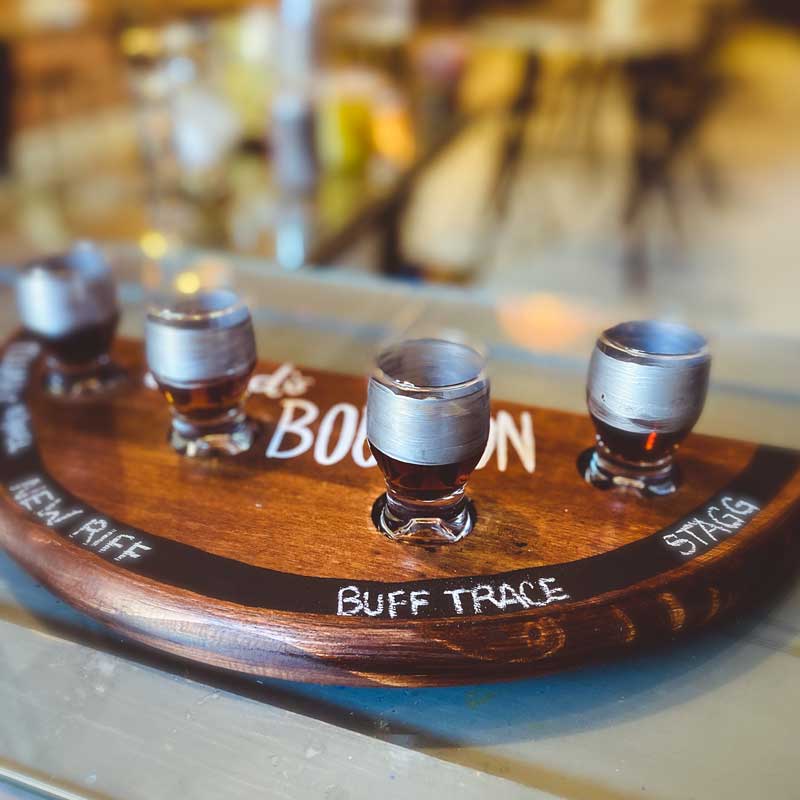
Bourbon Flight Board:
Supplies needed:
- Any piece of scrap wood approximately 14″-24″ long (rectangular or half circle as shown below).
- We used this pine circle from Home Depot, and cut it in half to create a half circle.
- 4 bourbon tasting glasses.
- Wood stain (color of your choice).
- We used Minwax Mahagony).
- Chalkboard paint. <– By far, our favorite! Only needs 1 coat.
- White acrylic paint (for lettering, if desired).
If you have a drill press (or power drill) and drill bit that matches the size of the bottom of your glasses, begin by drilling the 4 indents where the glasses will go. This is totally optional, and if you’d prefer, you can just paint circles with acrylic paint after staining instead!
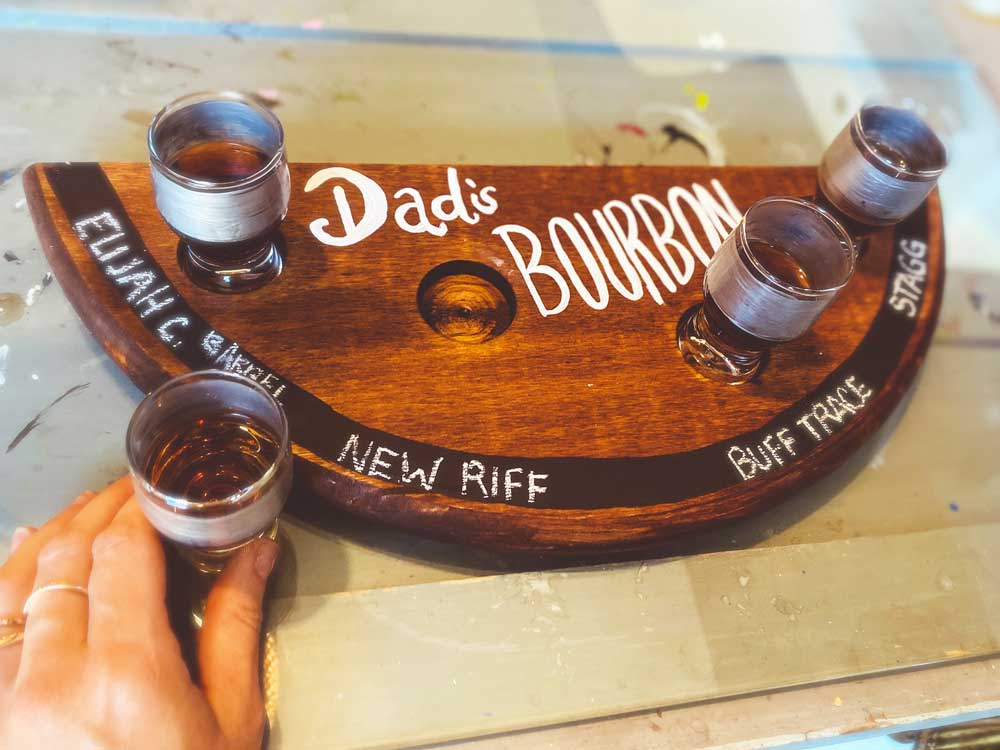
Stain the whole board on the front, back, and sides. Let it dry for a few hours at least.
Paint the chalk board line wherever you wish. It can either be along the whole front of the board or only in small sections in front of each glass. Allow this to dry a few hours as well.
Paint the glasses if you wish, using enamel glass paint. Be sure to cure it in the oven afterwards, following the instructions on the paint bottles.
Cheers!
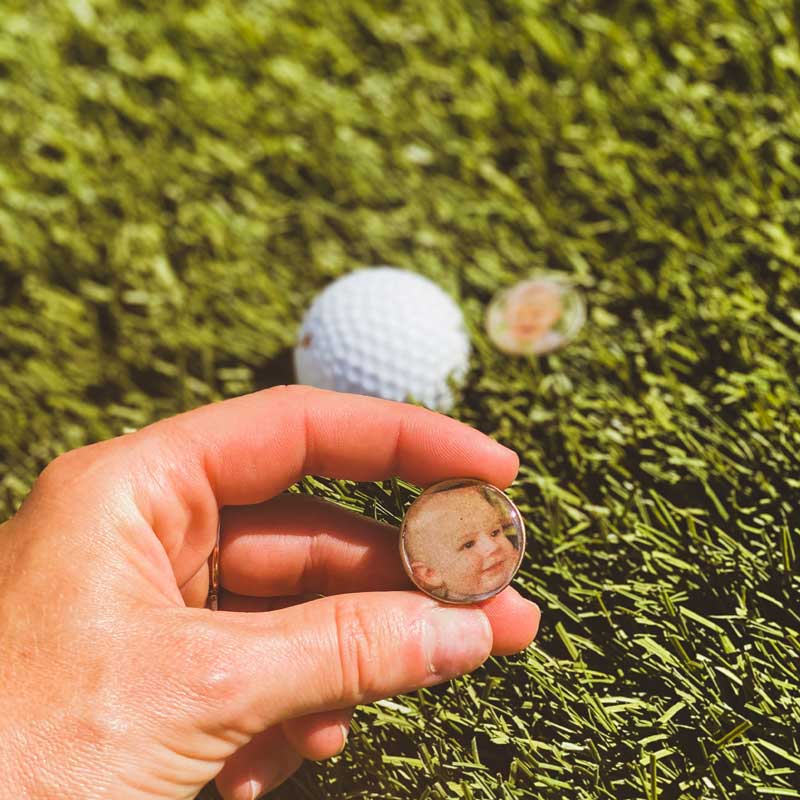
Golf Ball Markers
Supplies Needed:
- Resin & Hardener.
- Quarters (however many you want to make).
- Printed out photos that are only 1″ in diameter (cut out to circles so they fit the size of the quarters).
- E6000 Glue.
- Staples and a paper plate.
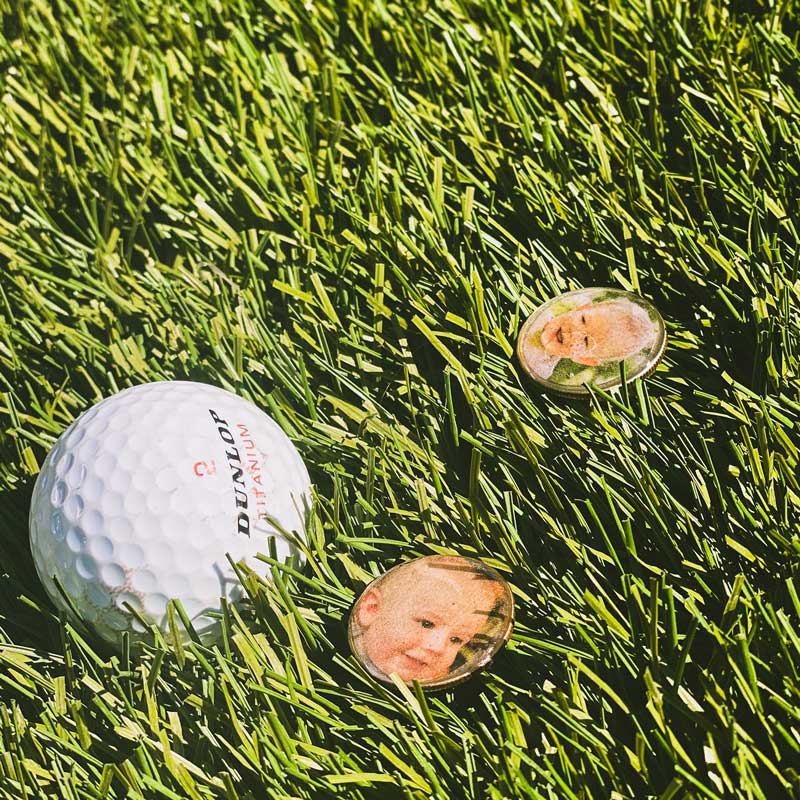
Begin by glueing each photo to the quarter after it is cut out to be the perfect circular size. Then, allow this glue to dry for 1 hour. Once it’s dry, begin mixing the resin and hardener together following the instructions on the bottle. Wear gloves!! The goal is to have the resin fall off the edges of the quarters but not cause the quarters to stick to the paper plate. Therefor the quarters should be raised up from the plate. We used a few staples to hold the quarters up off the paper plate in preparation to pour the resin over the quarters. Once you begin pouring, you’ll watch it pour off the edges and fall onto the plate. You also may notice some air bubbles under the surface of the resin. To get these air bubbles out, simply hold a lighter up to the resin (just a few centimeters away), and watch the bubbles go away. Do this quickly, and do not hold the flame over one area for too long. The bubbles should release right away. Allow these to dry for 24 hours!
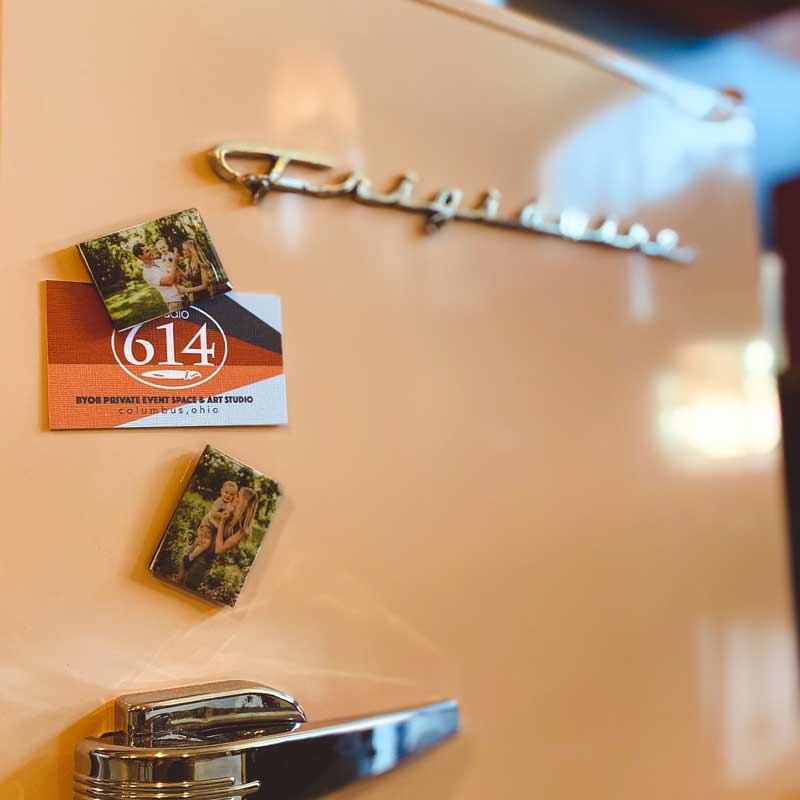
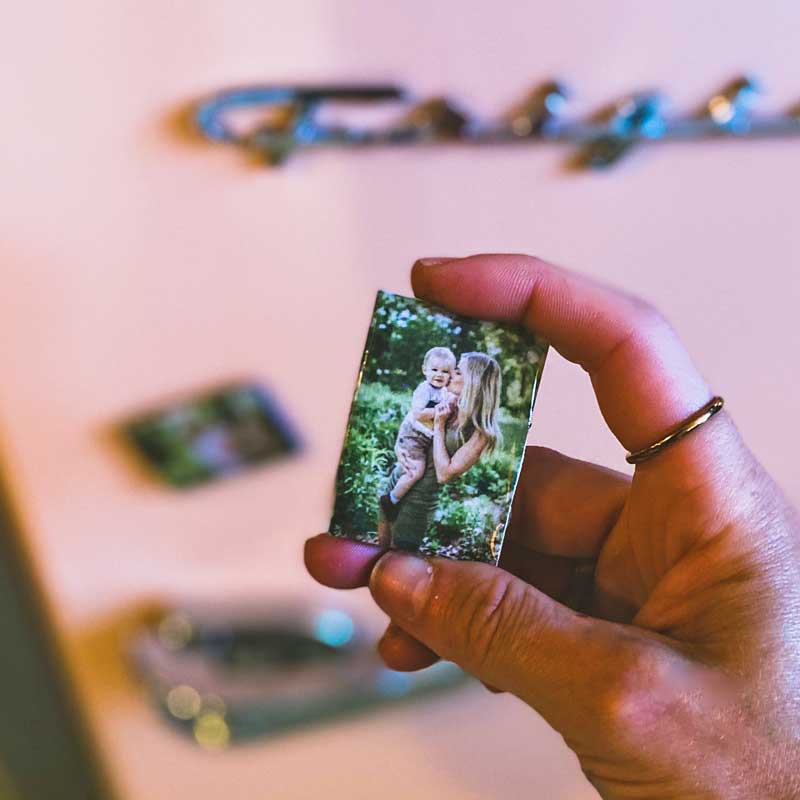
Photo Refrigerator Magnets
Supplies Needed:
- Resin & Hardener.
- Quarters (however many you want to make).
- Mini canvases.
- Magnets (with self-adhesive already on the back).
- Printed out photos that are cut to be the same size as the mini canvases.
- E6000 Glue.
- Staples and a paper plate.
Begin by glueing each photo to the canvas after it is cut out to be the perfect size. Then, allow this glue

to dry for 1 hour. Once it’s dry, begin mixing the resin and hardener together following the instructions on the bottle. Wear gloves!! The goal is to have the resin fall off the edges of the canvases but not cause them to stick to the paper plate. Therefor the canvases should be raised up from the plate. We used a few staples to hold them up off the paper plate in preparation to pour the resin over the quarters. Once you begin pouring, you’ll watch it pour off the edges and fall onto the plate. You also may notice some air bubbles under the surface of the resin. To get these air bubbles out, simply hold a lighter up to the resin (just a few centimeters away), and watch the bubbles go away. Do this quickly, and do not hold the flame over one area for too long. The bubbles should release right away. Allow these to dry for 24 hours!
