Candle Holder Glass Painting (Pinterest)
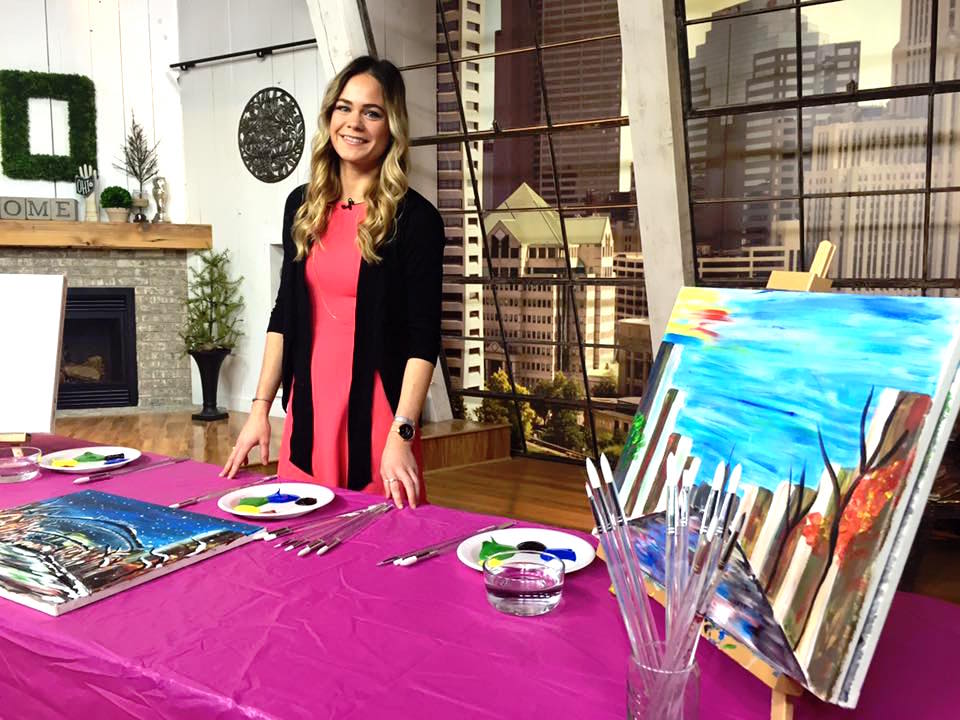
In case you missed my blog post introducing myself, I’m Maggie! And this is The Art Audit.
Do you ever see a “DIY Easy 5 Step” craft on Pinterest, buy all the supplies, start puttin’ in the work, and then after 10 hours and 3 retries it looks like a complete disaster and now there’s Mod Podge in your hair and you’re in a terrible mood? Well we have. And we recognize that Pinterest can make things look a lot more effortless than they actually are.
Every Friday, the girls at Studio 614 will take on a craft we’ve been dying to experiment. Once we’ve accomplished, or failed, the project I’ll post a review on the blog the following Monday. Instead of a glamorized step-by-step article we’ll give you the real breakdown of these crafts, challenges we faced, how we’d make it easier, etc.
On Friday we had our very first internship meeting (exciting) and afterward tackled one of the various DIY candleholders. Candles are the staple (and fire hazard) to my bedroom. Seriously. I have nine. Without them my room would smell like Pug and oatmeal (not always a bad thing).
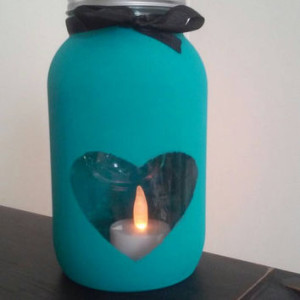
I used an old glass milk jar and my sidekick Christi used a mason jar.
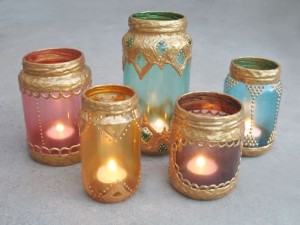
So before you begin, find something similar to one of these. Basically any glass jar with a mouth wide enough to drop and light a candle in.
Moving on.
Time: 10-ish minutes
Difficulty: Easy
Supplies:
- A glass jar
- Paint (dishwasher safe)
- Paint brushes
- Thick twine, rope or ribbon
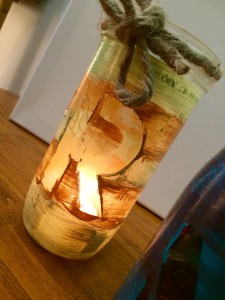
- Stencil (your choice, we used the letters of our first name)
Step 1. Stencil
I suggest using paper stencils. Using a paper stencil makes it easier, using a double-sided sticky tape runner, to stick it onto your jar.
Step 2. Painting
Squeeze out your paint of choice onto a paper plate. You are an artist. And this is your paint pallet. We both used two separate colors, I blended mine, but you can do whatever your crafty heart desires.
When you paint you’re going to want to hold the rim of your jar and move it in a constant circular motion with your brush, for aesthetic reasons. This will make it look better once it dries.
Step 3. Design Reveal
Once you’re done painting, don’t wait for the paint to dry, peel off your stencil ASAP.
I say this because we discovered that once the stencil was off, our design wasn’t as sharp on the edges as we’d like. But this was fixable. We took the edge of our paintbrush, or you could use a toothpick, to edge out and sharpen out the outline.
Step 4. Finishing Touch
Wrapping thick twine around the mouth of the bottle was a chic touch. Ribbons are a good option too.
Once your paint is dry and your finishing touch is on you can drop your candle in. In my case… this didn’t exactly work out. The neck of my bottle was way too narrow for the round candles we had. We determined that a tall thin candle or even incense would work for the smaller neck bottles!





Comments are closed.
I see your site needs some fresh content. Writing manually is time consuming, but there is tool for this task.
Just search for – Digitalpoilo’s tools
I see your site is in the same niche like my site.
Do you allow guest posts? I can write high quality content for you.
Let me know if you are interested.
” I’m extremely pleased to uncover this page I wanted to thank you for ones time just for this wonderful read!! I definitely savored every part of it and I have you saved to fav to see new things on your blog “
These 10 hairstyles make you look 10 years younger. Because your youth fix doesn’t have to come in a bottle or a needle
Amazing Women Hairstyle for Rainy Day Everybody know rain and hairstyles are very worst enemies in women life. It’s always a terrible thing to decide a hairstyle
– 61 Beautiful Braids and Braided Hairstyles. Find the braided style that’s perfect for your hair. … The best thing about braids: There are so many ways you can wear them.
Do you feel the pain of acid reflux? Do you feel a fire inside your chest? Are you miserable? Are you ready for the issues to stop? Continue reading to find out how. Keep reading to learn to control acid reflux for good and to end the misery for good.
You may need to balance out hydrochloric acid amounts in your body if you want to reduce acid reflux and its symptoms. You can do this, for instance, by using sea salt rather than table salt. Sea salt has chloride and minerals that are good for the stomach and prevent acid.
https://www.viagrasansordonnancefr.com/viagra-generique-forum-kullanm/