Easter Egg Arts & Crafts with Studio 614 on Good Day Columbus
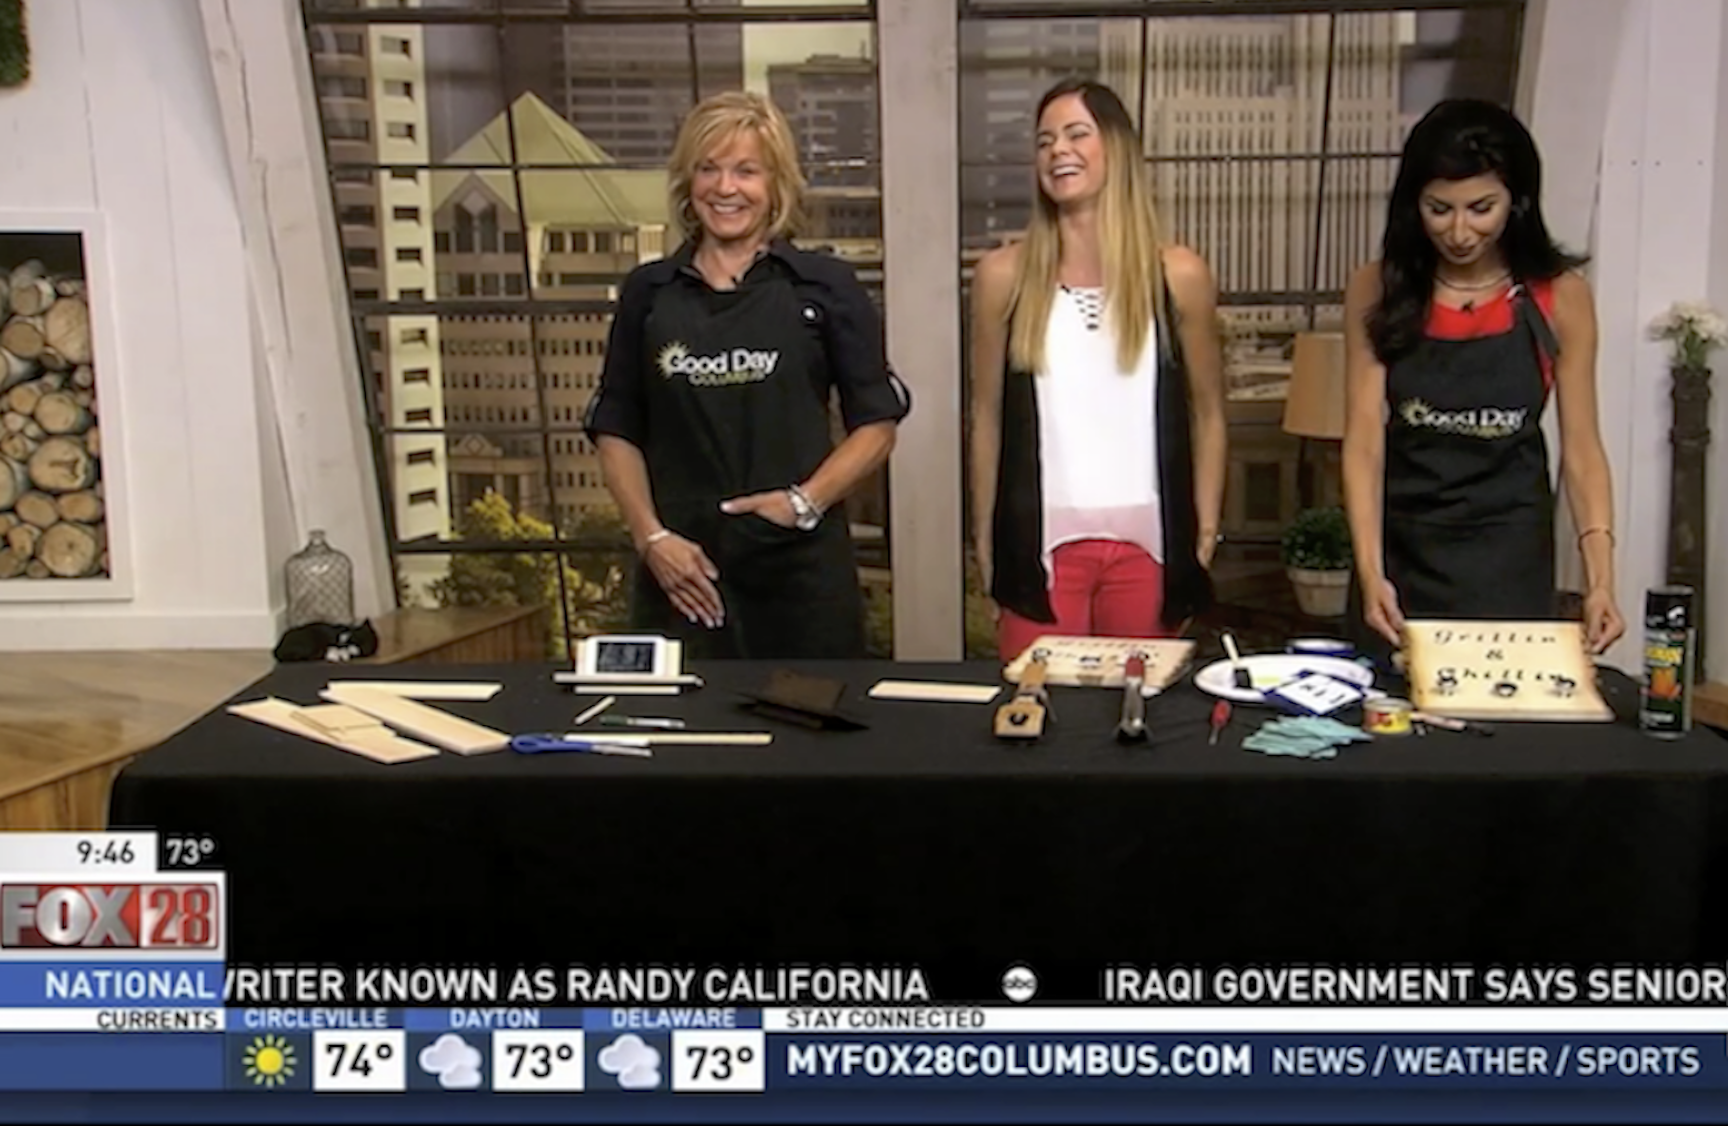
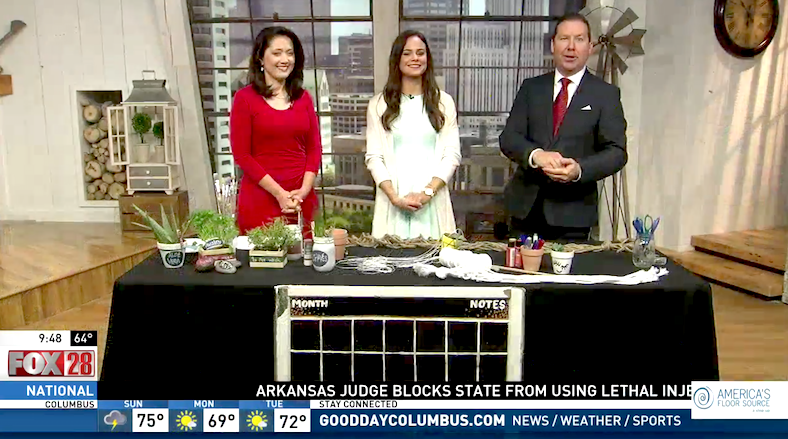
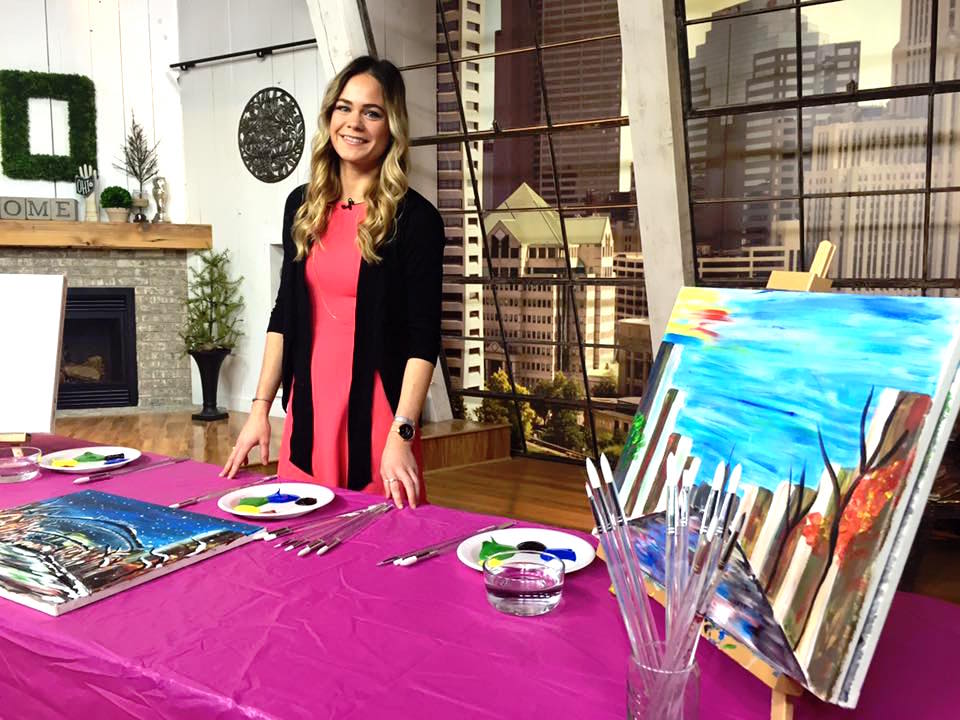
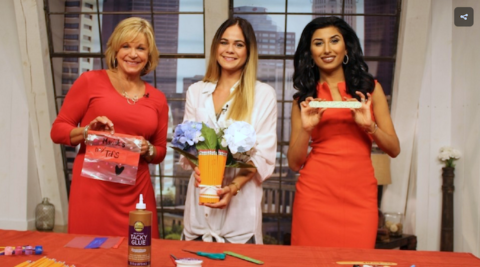
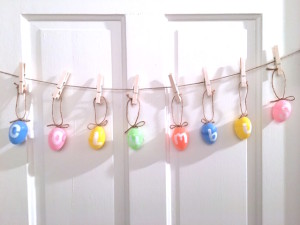 Warmer weather + easter eggs + our friends at Good Day Columbus! I always have a hilarious fun time with Shawn & Marshall during our morning craft segments at Fox 28. They’re just too much fun. Since the first day of spring was yesterday, there’s about a 100% chance our entire community’s mood will improve and everyone will make their way outside for fun activities. The forecast shows a beautiful weekend ahead, so clean off that patio table and bust out the Elmer’s glue because it’s time to craft with the kids outside!
Below you can watch the whole segment with instructions on the 2 Easter crafts we completed, and here are the step-by-step instructions!
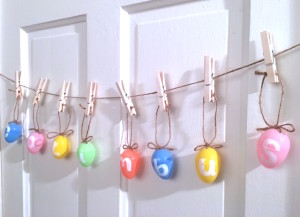
Easter Egg Garland
Supplies needed: twine, rope, string, or ribbon, scissors, assortment of plastic eggs with holes punched in the top, markers or paint to decorate the eggs, clothespins (of any size)
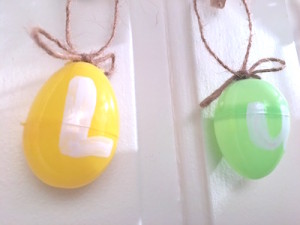 Step 1: Cut about a foot of your twine (of choice)
Step 2: Use this piece of rope to weave inside one of the holes of the top of the egg and out the other hole.
Step 3: Tie a small bow on the top of the egg, then use the remaining 2 strings that should be pretty long still to lift up and tie a knot higher up (the hanging portion of the egg).
Step 4: Cut your very long strand of twine which will be the main hanging material. This should be whatever length you’d like the garland to be.
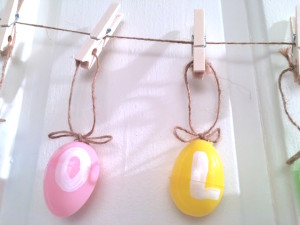
Step 5: Attach the egg using 1 clothespin, and pinch it by the top of the second knot you tied (above the bow). Notice it will hang about 3 inches from the main garland twine.
Step 6: Repeat this for the amount of eggs you’d like in your garland.
Step 7: Use oil-based Sharpie paint pens, acrylic paint, or your choice of medium to decorate the eggs as you wish.
Easter Egg Chicklings
Supplies needed: Styrofoam plates (one per chickling), oil-based sharpies, acrylic paint, or your choice of medium to color the chicklings, scissors, double-sided tape or glue
Step 1: Trace an egg shape on one side of your styrofoam plate and ahalf-circle shape on the other half of the plate.
Step 2: Cut out both shapes.
Step 3: Draw a zig-zag line across the egg. This is where the egg will appear “broken”.
Step 4: Cut along that line so that the egg becomes 2 pieces.
Step 5: Glue each of these pieces to one clothespin. The clothespin should be sideways, and these should be glued to the very tip of it.
Step 6: Color the half circle to be the chickling. First color it one solid color, then add the eyes and a small triangle nose.
Step 7: Glue or tape the chickling to the back of ONLY the bottom egg. This way, when you pinch the clothespin open, the top half of the egg will lift and expose the little baby bird.
Thank you again for having me on air today to share these fun crafts. Until next time!
Link to their website: http://myfox28columbus.com/good-day-columbus/gdc-easter-crafts-with-studio-614
